
7 Steps to Remove Cluster Lashes Without Hurting Yours
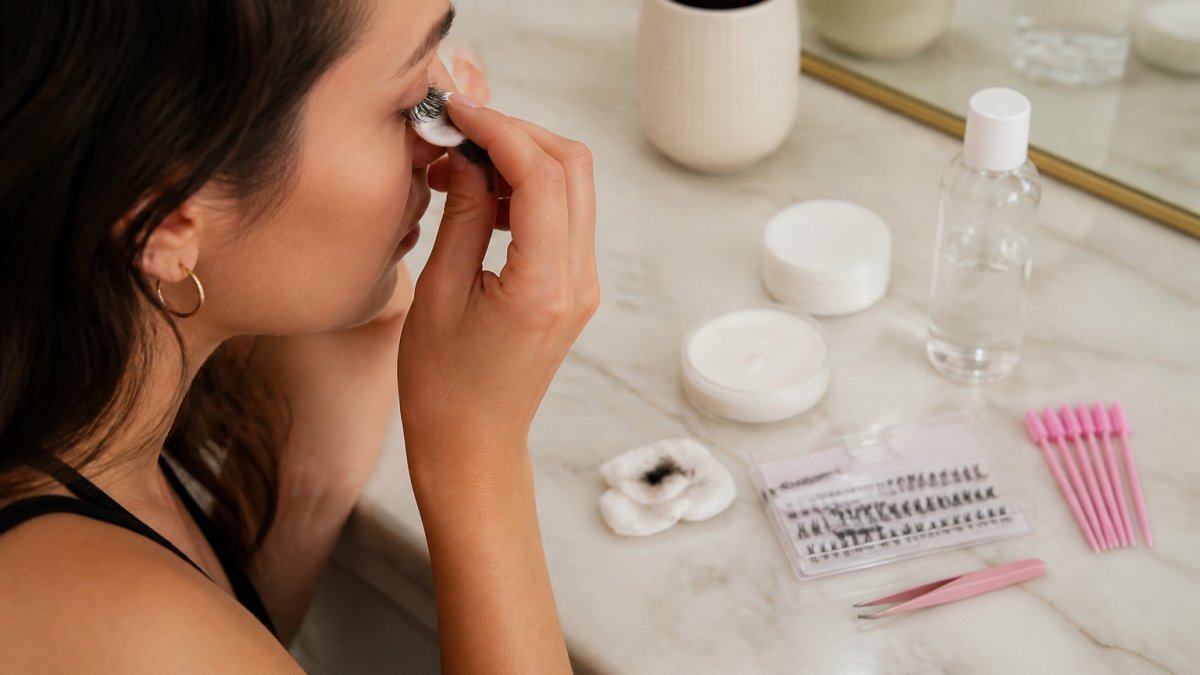
Last Updated: October 27, 2026
Quick Summary
To remove cluster lashes without damaging your natural lashes, soften the adhesive first rather than pulling. Apply a small amount of oil-based lash remover along the lash line, wait one to two minutes, then slide the cluster off gently. If it will not release, add more remover and time, never force.
- Identify the adhesive type first, since strip glue, self-adhesive clusters and professional extensions each need a different method.
- Apply oil-based remover along the lash line and let it sit for about one to two minutes.
- Slide the cluster off horizontally or slightly downward instead of lifting it up.
- If a cluster will not release, reapply remover and wait longer rather than tugging.
- Patch-test any new remover on the inner arm before using it near your eyes.
Table of Contents
- What Cluster Lashes Are and Why Removal Goes Wrong
- How to Remove Cluster Lashes at Home, Step by Step
- Choosing a Lash Cluster Remover That Protects Your Natural Lashes
- Does Vaseline Remove Fake Eyelashes? What Works and What Doesn't
- Lash Cluster Removal Aftercare for Healthy Natural Lashes
- Book Your Next Kit With Kyro Beauty Knowing Removal Is Gentle
- Frequently Asked Questions
What Cluster Lashes Are and Why Removal Goes Wrong
Cluster lashes are small bundles of individual lash strands, usually four to ten per bundle, glued onto your own lash line. Many people use them for a fuller look without the time or cost of full extensions. The trouble starts when you remove cluster lashes, because most people pull them off the way they would peel a sticker. That tug can take your natural lashes with it.
The bond is the problem. Cluster lashes are attached with lash adhesive, and that glue grips both the cluster and the base of your natural lash.
The steps below describe one approach to removing cluster lashes.
How to Remove Cluster Lashes at Home, Step by Step
The goal is to loosen the glue, not force the lash off. Work in a well-lit space and take your time with each step. The right method depends on what held the clusters on and how long they have been worn.
First, identify what you are removing
Cluster lashes are not all attached the same way, and the removal method should match the bond:
- Strip or tube lash adhesive: A firm, long-wear glue. It needs a proper oil-based remover and a full softening period. Do not rush this type.
- Pressure-sensitive or self-adhesive clusters: These rely on a tacky strip rather than a cured glue. They usually release with warmth and a gentle slide, and harsh remover is unnecessary.
- Professionally applied extensions: These are bonded individual-by-individual with a stronger cyanoacrylate adhesive and should be removed by the technician who applied them. Do not treat them like DIY clusters.
Wear time matters too. Clusters worn for a day or two release faster than a set that has been on for a week or more, because the adhesive has had longer to cure and collect oils and residue. If a set has been on longer than the product instructions recommend, allow extra softening time rather than extra force.
Step 1: Gather your supplies and set up
Before you touch your lashes, gather everything you need. Set up at a clean bathroom counter or desk with good light.
- A gentle oil-based remover or a dedicated lash adhesive remover
- Cotton swabs or a soft tissue
- A clean cloth and a bowl of warm water
- A mirror with bright, even light
Wash your hands and wipe your eyelid area with a gentle cleanser. Clean hands and a clean eye area help you spot any residue and reduce irritation.
Step 2: Soften the adhesive bond
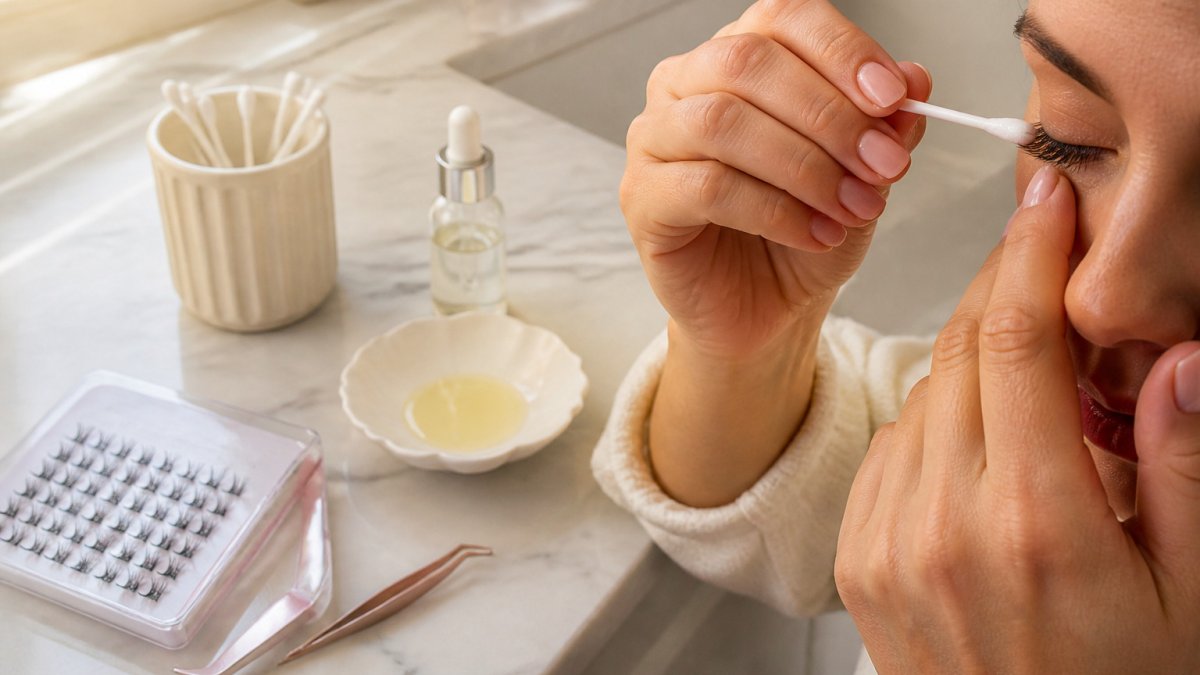
This step does most of the work. Apply a small amount of oil-based remover to a cotton swab and dab it along the lash line where the cluster meets your natural lashes. Be careful not to let liquid run into your eyes.
Let the remover sit for about one to two minutes. You can also hold a warm, damp cloth over closed eyes to add gentle warmth, which helps the glue relax. Once the bond softens, the cluster should start to lift away with very little effort. If it does not, wait a little longer rather than tugging.
If the adhesive is still firm after two minutes, reapply a small amount and wait another minute. Repeating the softening step is always safer than adding pressure.
Step 3: Slide the clusters off gently
Once the glue has softened, slide the cluster off instead of pulling it up. Use a cotton swab or your fingertip to gently press along the base of the cluster and move it in a slow, horizontal or slightly downward motion. The cluster should release from the adhesive in a smooth line.
Support your natural lashes with your other hand as you work. If you feel any resistance, stop, reapply a small amount of remover, and wait another minute. Forcing the lash is what causes breakage.
After the cluster is off, use a fresh swab to remove any leftover glue along the lash line. Wipe gently in one direction only.
If a cluster will not release
A stubborn cluster is a signal, not a challenge. Stop pulling and work through this checklist:
- Reapply remover and wait a full two minutes.
- Add warmth with a damp, warm cloth over closed eyes.
- Try a different angle, slide along the lash line rather than lifting away from it.
- If it still will not move after two or three attempts, leave it and seek professional removal rather than risk the natural lash.
The removal method depends on how the clusters were attached, so match the approach to the bond.
| Adhesive type | Removal approach | Key note |
|---|---|---|
| Strip or tube lash adhesive | Oil-based remover, full softening period | Do not rush this type |
| Pressure-sensitive clusters | Warmth and a gentle slide | Harsh remover is unnecessary |
| Professional extensions | Removed by the applying technician | Not interchangeable with DIY methods |
Choosing a Lash Cluster Remover That Protects Your Natural Lashes
Not every remover works the same way. Many people reach for a harsh product that dries out the lash line, but a gentler formula does the job with less risk. You can also browse single lash styles to see the kind of lashes cluster removal is typically used on.
Here is what to check on the label:
- Oil-based formula: Softens adhesive without strong solvents
- Gentle on sensitive eyes: Suited for the thin skin around the eyes
- Clear instructions: Shows how long to leave it on
- Fragrance-free: Lowers the chance of irritation
Some people use common household oils, such as coconut or olive oil, to loosen glue. These can work for softening the bond, but they are not made for the eye area. Oils can leave residue that is hard to wipe off, and they may cause irritation for some people. A purpose-made lash remover is usually the safer choice.
Always patch-test a new remover before using it near your eyes. Apply a tiny amount to the inner arm and wait a few minutes. If you notice redness or itching, do not use it on your lash line.
Does Vaseline Remove Fake Eyelashes? What Works and What Doesn't
Many people ask whether Vaseline can remove fake lashes. Petroleum jelly is an oil-based product, so it can soften some lash adhesive over time. That is why it gets recommended online. However, it works slowly, and it can leave a greasy film that makes it harder to see what you are doing.
Vaseline is also thick, which means it can trap residue along the lash line. For a cleaner result, use a thin oil-based remover made for lash glue. If you do use petroleum jelly, apply a very small amount, wait several minutes, and wipe away the excess carefully. Avoid getting it into your eyes.
What doesn't work well is anything abrasive or any product that stings. Skip harsh scrubs, rubbing alcohol, and sharp tools. These increase the risk of irritation and natural lash damage.
Lash Cluster Removal Aftercare for Healthy Natural Lashes
Once the clusters are off, your natural lashes need a little care to recover. Many people notice some shedding or a bit of tenderness after removal, especially if the glue was stubborn. This is usually temporary, but it helps to know what is normal and what is not.
Assess the damage before you treat it
Look closely at your lash line in good light. A small amount of shedding is expected, natural lashes cycle and fall out on their own anyway. What matters is the pattern:
- A few loose lashes on the swab: Normal. These were likely at the end of their growth cycle.
- A visible gap or thin patch: Worth watching. It may reflect a cluster that was pulled rather than slid off.
- Broken, short stubs along the lash line: A sign of force during removal. These will grow back, but the lash line needs a rest.
- Redness, swelling, or tenderness at the root: Stop applying products and monitor for a day.
Aftercare can support recovery, it cannot regrow a lash that was pulled out. What it can do is keep the lash line clean, reduce irritation, and give the natural lashes a chance to cycle back in without further stress.
A simple recovery routine
- Cleanse the lash line gently with a mild, fragrance-free cleanser
- Avoid rubbing or pulling at your lashes for a day or two
- Skip mascara and heavy eye makeup until the area feels comfortable
- Give your natural lashes a rest before applying new clusters
A short break between sets matters. Constant gluing and removing can weaken the natural lash over time, so let the lash line settle before the next application.
When to stop and seek advice
Most removal irritation settles within a day. Stop using any product and contact a doctor or eye care professional if you notice:
- Persistent redness, swelling, or pain
- Discharge or a gritty feeling in the eye
- A stye-like lump along the lid margin
- A cluster that will not release and is pulling at the natural lash
Clean and store reusable clusters separately
If your clusters are reusable, clean them apart from your natural lash line. Wipe residual adhesive from the cluster band with a swab and a small amount of remover, let them dry fully, and store them in a clean case. Keeping reusable clusters clean reduces the chance of transferring residue or bacteria back to the lash line on the next application. For ideas on keeping a flawless look, see this guide to lash and brow trends and routines.
Book Your Next Kit With Kyro Beauty Knowing Removal Is Gentle
You can browse Kyro Beauty's lash and brow kits on the website, where current prices are listed.
Visit the Kyro Beauty site to see current pricing and choose the kit that fits your routine. If you are new to application and removal, you can explore beginner friendly beauty kits.
Frequently Asked Questions
Can you remove lash clusters at home without damaging natural lashes?
Yes. Lash clusters can be removed at home safely if you soften the adhesive first and slide the clusters off rather than pulling them. Pulling is the main cause of natural lash loss, so take your time. Work slowly, keep the lash line moist with your remover, and stop if you feel resistance. Most people find the process takes about 10 to 15 minutes the first time and gets faster with practice.
Does Vaseline remove fake eyelashes?
Petroleum jelly such as Vaseline can soften some lash adhesives, so it may help loosen a stubborn cluster. However, it is not a dedicated adhesive remover and can leave a greasy residue that is hard to clean from the lash line. Use a remover made for lash adhesive if you can, and wipe away any jelly thoroughly with a gentle cleanser afterwards to avoid irritation near your eyes.
What should you do if a lash cluster will not come off easily?
Stop pulling and reapply your remover to the base of the cluster. Let it sit for another minute or two so the bond can soften. Then try sliding the cluster off with a horizontal motion. If it still will not release, do not force it. Forcing a stuck cluster is the most common way natural lashes break, so give the remover more time or consult a lash professional.