
How to Remove Press-On Lashes Safely

Table of Contents
- Preparation Before Removing Press-On Lashes
- Tools You'll Need for Safe Removal
- Step-by-Step Process to Remove Press-On Lashes Safely
- DIY Lash Glue Remover Options
- Signs of Eyelash Damage From Falsies
- Aftercare and Lash Health Recovery
- Common Mistakes to Avoid
- How to Clean and Reuse Your Lash Bands
Last Updated: August 12, 2026
Preparation Before Removing Press-On Lashes Safely
Before removal, prepare your eye area and gather supplies. Rushing into removal without proper setup damages natural lashes or irritates eyelids. The goal is to let adhesive break down gradually, not to tug against a stubborn bond.
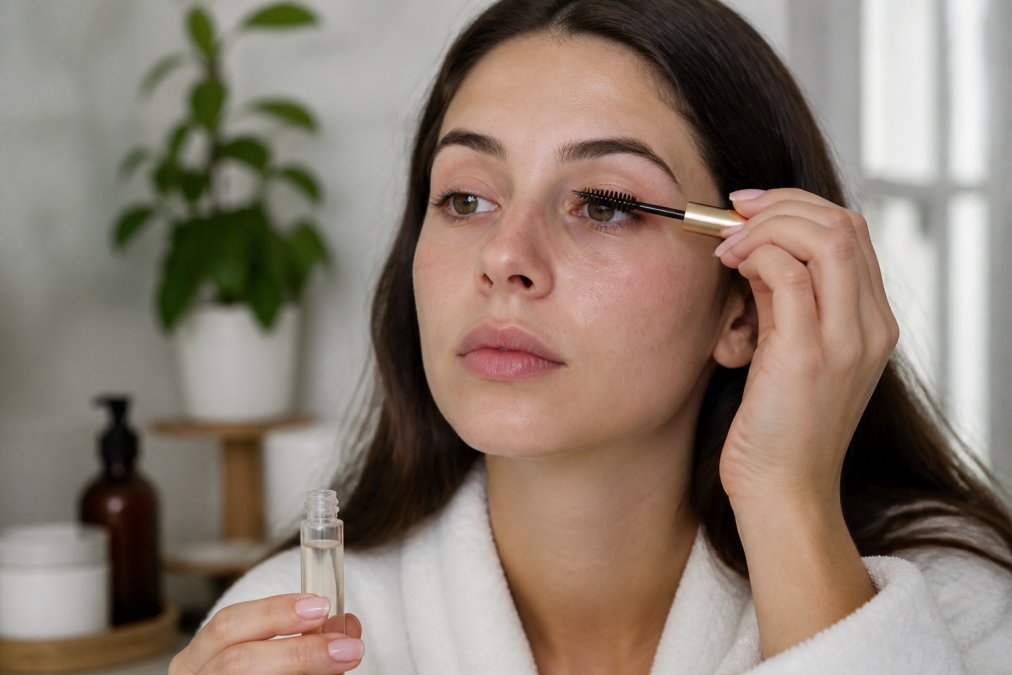
Wash your hands thoroughly with soap and warm water, bacteria or debris near your eyes can cause infection or irritation. Pat hands dry completely; moisture makes it harder to grip the lash band.
Assess your press-on lashes closely where the band meets your natural lashes. If you see redness, swelling, or irritation, proceed with extra caution. Mild inflammation from adhesive is normal after several days of wear, but it means your eye area is already sensitive.
Cleanse your eye area gently with mild, oil-free cleanser or warm water. Avoid rubbing. Pat dry with a clean, lint-free cloth. Remove all makeup from lashes and eyelids first; residue interferes with adhesive breakdown.
Sit in a well-lit area where you can see clearly. Good lighting is essential to see exactly where the lash band ends and your natural lashes begin, preventing accidental removal of your own lashes.
Tools You'll Need for Safe Removal
The right tools make the difference between easy removal and a frustrating, potentially damaging process.
Essential tools for safe removal:
- Oil-based makeup remover or natural oil (coconut, castor, or olive oil)
- Cotton swabs or small cotton pads
- Tweezers with flat, rounded tip
- Warm water
- Gentle facial cleanser
- Clean, lint-free cloth or paper towels
- Mirror with good lighting
- Optional: eye drops or saline solution
The most critical tool is an oil-based product. Oil breaks down eyelash adhesive by dissolving the bond between the lash band and your natural lashes, much safer than mechanical removal alone.
Avoid harsh solvents or acetone-based products near your eyes; these cause irritation and damage sensitive eye tissue. Stick with gentle, oil-based options designed for facial use.
Your tweezers should have a flat or slightly rounded tip. Pointed tweezers can pierce delicate eyelid skin or catch individual natural lashes. If you lack suitable tweezers, a clean cotton swab is actually safer for gently separating the lash band.
Step-by-Step Process to Remove Press-On Lashes Safely
Removing press-on lashes safely requires patience and a methodical approach. Rushing is where most damage happens.
Step 1: Saturate the lash band with oil (Time: 2-3 minutes)
Apply oil-based remover or natural oil to a cotton swab. Starting at the inner corner, gently apply oil along the entire lash band where it meets your natural lashes. Focus on the bond line where adhesive holds strongest. Let the oil sit for 2-3 minutes to penetrate and begin breaking down the adhesive.
Step 2: Apply additional oil and wait (Time: 2-3 minutes)
Apply another layer of oil to ensure the adhesive is fully saturated. Wait another 2-3 minutes.
Step 3: Gently test the lash band (Time: 1 minute)
Using tweezers or a clean cotton swab, gently test whether the lash band is loosening. Apply very light pressure to the outer corner and see if it lifts slightly. Do not pull. If it doesn't budge, apply more oil and wait another 2-3 minutes.
Step 4: Peel away the lash band (Time: 2-3 minutes)
Once the lash band begins to loosen, use tweezers to gently lift the outer corner. Move slowly and deliberately. The band should peel away with minimal resistance. If you feel tugging or resistance, stop immediately and apply more oil. Work from outer corner to inner corner, peeling at a shallow angle almost parallel to your eyelid to reduce tension on natural lashes.
Step 5: Remove any remaining adhesive residue (Time: 3-5 minutes)
After the lash band is off, small bits of adhesive may remain on natural lashes or eyelid margin. Apply more oil to a fresh cotton swab and gently rub the residue until it rolls off. Never pick at residue with fingernails or tweezers; let oil do the work.
Step 6: Cleanse and rinse thoroughly (Time: 3-5 minutes)
Wash your eye area with warm water and gentle cleanser using soft, circular motions. Rinse thoroughly until no oil residue remains. Pat dry with a clean cloth.
Oil-Based vs. Oil-Free Removal Methods
Oil-based removers are the gold standard because they dissolve eyelash adhesive chemically rather than relying on mechanical force. Oil-based makeup remover designed for the eye area is your best option.
Natural oils like coconut, castor, and olive oil are equally effective. Castor oil is particularly popular because it's gentle, readily available, and conditions natural lashes. Coconut oil has antimicrobial properties that help prevent infection. Olive oil is the most affordable option and works just as well.
Oil-free removers like micellar water can work in a pinch but require more time and vigorous rubbing, increasing damage risk. If you must use oil-free options, apply generously, wait longer between applications, and use even lighter pressure when peeling.
Mechanical Removal Without Adhesive Breakdown
If you have no access to oil-based products, apply warm water to the lash band repeatedly. Soak a cotton pad in warm water and hold it against the band for 5-10 minutes to slightly soften adhesive. Once the band feels looser, use tweezers to gently lift the outer corner extremely slowly. If you feel any resistance, stop and apply more warm water. This method takes significantly longer and carries higher risk of pulling out natural lashes and should only be used as a last resort.
DIY Lash Glue Remover Options
If you lack commercial makeup remover, use common household items that are oil-based and safe for the delicate eye area.
Coconut oil is probably the easiest DIY option, most people have it in their kitchen. It's antimicrobial, gentle on sensitive skin, and breaks down adhesive effectively.
Castor oil is equally effective and conditions natural lashes. It's inexpensive and available at most pharmacies or grocery stores.
Olive oil works well and is almost certainly in your kitchen already.
Baby oil (mineral oil) is another household option specifically formulated to be gentle on skin, including the delicate eye area.
Avoid vinegar, alcohol, or acetone-based products; these irritate eyes and damage delicate eyelid tissue. When using any DIY remover, apply generously and give it time to work. The longer you wait, the less mechanical force you'll need.
Signs of Eyelash Damage From Falsies
Understanding what eyelash damage looks like helps you catch problems early and adjust your removal technique.
Immediate signs of damage:
- Red, inflamed eyelid margin where the lash band sat
- Individual natural lashes missing or noticeably shorter
- Broken lashes that appear stubby or uneven
- Bleeding or raw patches on the eyelid
- Sharp pain or burning sensation during removal
Signs of longer-term damage:
- Sparse patches where lashes are noticeably thinner
- Lashes that are brittle, dry, or prone to breaking
- Lashes that grow in lighter or finer than before
- Persistent redness or irritation on the eyelid margin
- Lashes that don't grow back at normal length after several weeks
Traction alopecia is damage caused by repeated pulling or tension on hair follicles. If you notice progressive thinning or lash loss in the same spots, you may be experiencing traction alopecia. This is reversible if you stop the damaging behavior immediately, but can become permanent if follicles are damaged repeatedly.
If you experience sharp pain, bleeding, or signs of infection (pus, excessive swelling, warmth), stop removal immediately and see a healthcare provider.
Aftercare and Lash Health Recovery
What you do after removing press-on lashes is just as important as the removal process itself. Your natural lashes need time to recover and be conditioned.
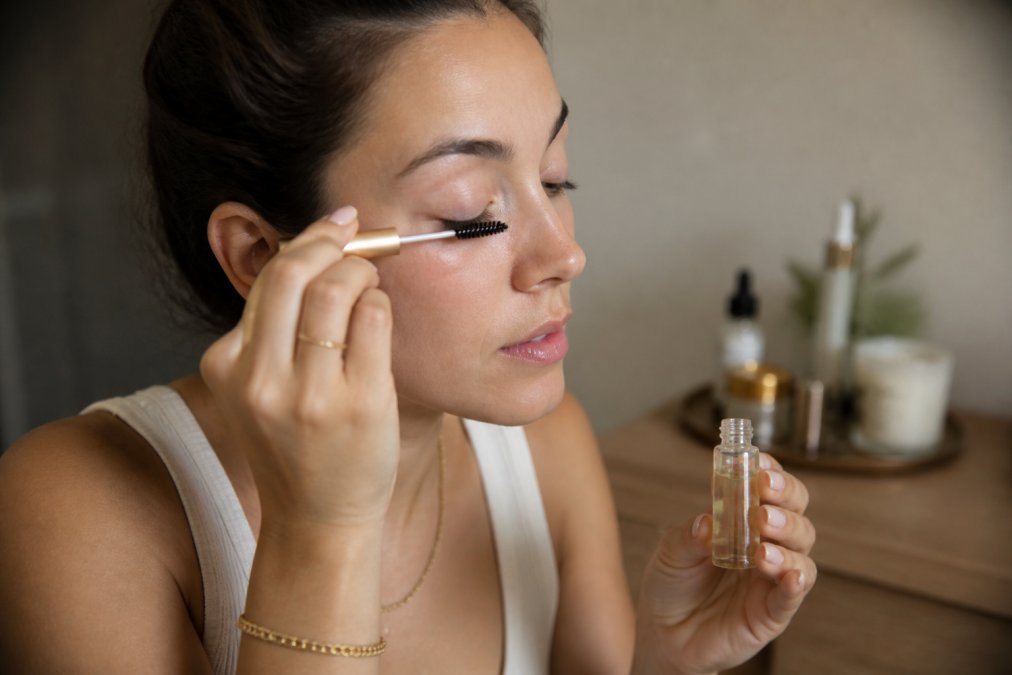
Immediately after removal (first 24 hours):
Avoid wearing makeup on your eyes for at least 24 hours to allow your eyelid margin to recover from lash band pressure and adhesive irritation. Makeup can trap bacteria and prevent healing.
Apply a conditioning treatment to your natural lashes using castor oil, coconut oil, or a dedicated lash conditioning serum. Use a clean lash brush to comb the product through your lashes from root to tip. This hydrates your lashes and helps them recover from the stress of wearing falsies.
Apply soothing eye cream or aloe vera gel to your eyelid if there's any redness or irritation. Keep your hands away from your eyes and avoid rubbing.
Days 2-7 after removal:
Continue applying conditioning treatments to your lashes daily. Avoid wearing any eye makeup during this period if possible. Give your eyes a break from press-on lashes for at least one week to allow full recovery.
Week 2 and beyond:
If your natural lashes look and feel healthy, you can resume wearing press-on lashes. Space out your wear to no more than 3-4 times per week, with at least 2-3 days of rest between wears.
Continue conditioning your lashes regularly, even on days when you're not wearing falsies. Monitor your lash health closely. If you notice thinning, breakage, or persistent irritation, take a longer break from falsies.
Common Mistakes to Avoid
Most lash damage happens because of preventable mistakes during removal.
Mistake 1: Rushing the removal process
This is the number one cause of lash damage. People skip the waiting time for oil to break down adhesive and then pull too hard. Take your time. If removal takes 15-20 minutes instead of 5, that's a win for your lash health.
Mistake 2: Using sharp or pointed tweezers
Pointed tweezers can catch and pull individual natural lashes or pierce your eyelid. Use flat or slightly rounded tweezers, or use cotton swabs instead.
Mistake 3: Pulling straight out instead of peeling
Pulling straight out applies direct traction to your natural lashes. Peeling at a shallow angle distributes force more evenly and reduces the risk of pulling out natural lashes.
Mistake 4: Not using enough oil or remover
Trying to remove falsies with minimal oil means the adhesive isn't fully broken down, requiring more force. Use generous amounts of oil and wait longer.
Mistake 5: Picking at adhesive residue with your nails
Picking can damage your eyelid and scratch delicate skin. Let oil dissolve the residue instead.
Mistake 6: Wearing press-on lashes too frequently
Wearing falsies every day doesn't give your natural lashes time to recover. Space out your wear to 3-4 times per week maximum, with rest days in between.
Mistake 7: Ignoring signs of irritation or damage
If your eyes are red, your lashes are breaking, or you're experiencing pain, stop wearing falsies and give your lashes time to recover.
How to Clean and Reuse Your Lash Bands
Quality press-on lash bands can be worn multiple times if you clean and care for them properly.
Basic cleaning process:
Remove visible adhesive from the lash band using a cotton swab with oil. Soak the lash band in warm water with a drop of gentle cleanser for 5-10 minutes. Use a clean cotton swab or soft cloth to gently rub away remaining adhesive and debris. Rinse thoroughly with clean, warm water. Pat dry with a clean, lint-free cloth and store flat in the original case or a clean, dry container. Never store damp lashes; moisture encourages bacterial growth.
Conditioning the lash band:
After cleaning, apply a tiny amount of conditioning oil to the lash band. Comb through the lashes gently with a clean lash brush to distribute the product evenly.
Storage and reuse:
Properly cleaned and stored lash bands can typically be reused 5-10 times, depending on quality and handling. Before reusing, inspect the lash band for damage. If fibers are frayed, matted, or significantly thinner, replace them. When reapplying reused lashes, use fresh lash adhesive; never reuse old adhesive.
Removing press-on lashes safely protects your natural lashes and keeps your eyes healthy. The process doesn't require expensive tools or special skills, just patience, the right products, and a gentle touch. Start with proper preparation, use oil-based removal methods, and give your natural lashes time to recover between wears. Your lashes will thank you with healthy growth and lasting strength.
Frequently Asked Questions
How long should I soak my press-on lashes before removing them?
Soak the lash band in warm water or oil-based remover for 5-10 minutes to soften the eyelash adhesive. This allows the bond to break down gradually, making removal gentler on both your natural lashes and the lash band. Longer soaking (10-15 minutes) works better for stubborn adhesive, but avoid excessive soaking which can weaken reusable lash bands.
Can I use coconut oil or castor oil to remove press-on lashes?
Yes. Coconut oil, castor oil, and olive oil are effective DIY lash glue remover options. These oils dissolve the adhesive bond naturally without harsh chemicals. Apply the oil along the lash band, let it sit for 5-10 minutes, then gently roll the lash away from the lash follicle. Castor oil has the added benefit of conditioning natural lashes during removal.
What are the signs of eyelash damage from falsies?
Watch for traction alopecia (hair loss from the eyelid margin), breakage of natural lashes, redness or irritation around the lash follicle, and excessive shedding after removal. If your natural lashes feel brittle, look shorter, or fall out in clumps, stop wearing press-on lashes and allow 4-6 weeks for recovery. Patch test new adhesives on a small area first if you have sensitive skin.
How do I know if I'm having an allergic reaction to lash adhesive?
Signs include itching, burning, swelling around the eyelid, redness on the eyelid margin, or a rash near the eye. If you experience these symptoms, remove the lashes immediately and rinse with cool water. Avoid that adhesive in future and test hypoallergenic formulas on a small patch of skin first. If symptoms persist, consult a healthcare provider before wearing falsies again.
This article was written using GrandRanker
