



How to Apply Instant Lashes for Beginners in 2026

Table of Contents
- Your Instant Lash Kit: What You Need Before You Start
- Step 1: Prep Your Natural Lashes and Eyelids
- Step 2: Measure and Trim the Lash Band for Your Eye Shape
- Step 3: Apply Adhesive and Wait for the Tacky Stage
- Step 4: Placement Tricks to Make Press-On Lashes Look Natural
- Troubleshooting: Fixing Lifted Corners and Common Mistakes
- How Long Do Instant Lashes Stay On? And How to Remove Press-On Lashes Without Damage
- Conclusion: Your First Application and Next Steps
- Frequently Asked Questions
Last Updated: September 5, 2026
Mastering how to apply instant lashes for beginners in 2026 comes down to one thing: patience with the adhesive. Most first-timers fail because they rush the glue-drying stage and place the band too early. This guide from Kyro Beauty walks you through each step so your first set looks salon-applied, not stuck-on. Instant lashes are pre-designed lash strips that bond to your natural lash line without individual extension glue. By the end, you will know exactly how to prep, place, and press your way to a natural finish that lasts through a full day. Below, we break the process into four simple stages, plus the fixes for the mistakes that cause most beginners to give up after one try.
Your Instant Lash Kit: What You Need Before You Start
Gathering the right tools before you begin is half the battle. A common mistake is opening your lash box and starting immediately, only to realize you have nothing to separate your natural lashes with. For the best tools for applying instant lashes, you need a clean pair of tweezers or an applicator tool, a small mirror with good lighting, and a cotton swab for precise adhesive control. If your instant lashes are not pre-glued, you will also need a lash adhesive that is latex-free to protect sensitive eyelids. Many beauty brands now include a gentle bond in the kit, which simplifies the routine considerably. Before you touch your face, wash your hands thoroughly; oils from your fingers transfer to the lash band and weaken the bond.
Step 1: Prep Your Natural Lashes and Eyelids
Clean, oil-free lashes are the foundation of a bond that holds. Your natural lashes and eyelid must be free of makeup, mascara, and skincare residue, as oils break down the lash glue and cause early lifting. Use an oil-free makeup remover or micellar water on a cotton pad, sweeping gently from the inner corner to the outer corner. Follow with a quick wipe of toner on the eyelid to remove any lingering moisture or cream. Curl your natural lashes now, before application, so they blend upward with the falsies rather than pointing down against them. Do not apply mascara at this stage; a fresh coat interferes with the adhesive's grip. Allow the skin to air dry completely for about 30 seconds before moving on. Skipping this prep is the leading cause of lashes that pop off within a couple of hours.
Step 2: Measure and Trim the Lash Band for Your Eye Shape
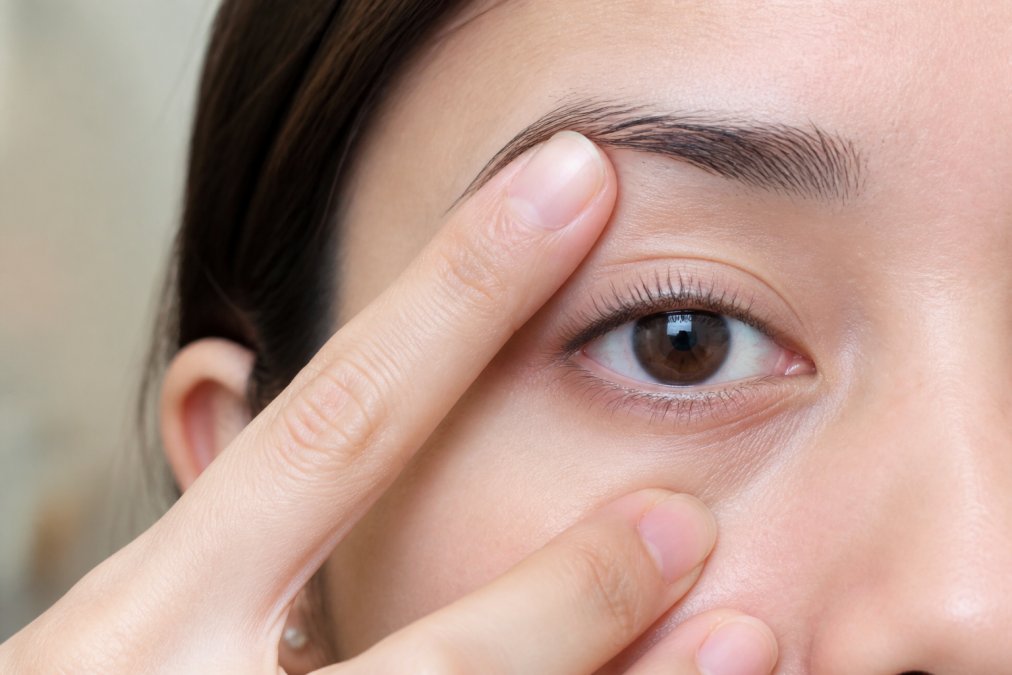
The single biggest mistake beginners make is applying a lash band that is too long for their eye. Hold the lash strip up against your eyelid without adhesive first; the band should start a few millimetres from your inner corner and end at your outer corner, never extending past your natural lash line. If it is too long, trim from the outer edge of the band, never the inner corner, because the inner edge is shaped to follow your eye contour. Cut tiny increments at a time; removing too much ruins the lash curvature and leaves gaps. This measuring step answers the question of whether press-on lashes look natural: a properly trimmed band that sits within your lash line is the difference between a seamless blend and an obvious falsie.
But a correct fit is not just about length, it is about adapting the band to your unique eye shape. Here is how to tailor the fit for the three most common eye structures:
For Hooded Eyes: The extra skin fold can push the lash band downward, causing the outer corner to droop. To counteract this, trim the band slightly shorter on the outer edge, about 2-3 millimetres beyond your natural lash line, not 5. This prevents the band from catching the fold when you blink. Additionally, you may need to apply the lash slightly higher on the lid, just above the lash line, so it doesn't get buried under the hood.
For Monolids: Without a defined crease, the lash line is often straighter, and a highly curved band will lift at both ends. Look for a lash with a less dramatic curl (a 'J' or 'B' curl rather than a 'D' curl) and trim the band to be almost perfectly straight across, matching the line of your natural lashes. When you place it, press the band down firmly along its entire length, as there is no crease to help it conform.
For Deep-Set Eyes: The brow bone protrudes, creating a shadow over the lash line. A band that is too long will poke into the inner and outer corners. Trim both ends slightly, but remember, the inner corner trim must be minimal and angled to follow the natural tear duct curve. The goal is to keep the band within the 'valley' of your eye socket so it doesn't touch the brow bone.
A final professional trick for all eye shapes: after trimming, gently flex the band back and forth for 10 seconds. This 'pre-curving' relaxes the band's memory, allowing it to conform to your specific eye contour instantly upon placement, rather than fighting to stay flat.
Step 3: Apply Adhesive and Wait for the Tacky Stage
Applying lash glue correctly is about timing, not quantity. Squeeze a thin, even line of adhesive along the full length of the lash band, using a cotton swab or the applicator tip to spread it. Too much glue creates a visible, lumpy line that takes forever to dry; too little leaves gaps that lift. Now comes the step everyone rushes: wait 30 to 60 seconds for the glue to become tacky. When the adhesive turns from glossy to a matte, sticky finish, it is ready. Pressing the band on while the glue is wet causes it to slide around and never properly bond. During this waiting period, hold the lashes curved in a gentle U-shape to help the band mould to your eye shape. The drying time is non-negotiable, and it is precisely where most application technique fails. eyelash growth guide.
Step 4: Placement Tricks to Make Press-On Lashes Look Natural
Positioning the lash directly against your lash line, not on the eyelid skin above it, is the secret to a natural look. Look slightly downward into your mirror and place the centre of the band onto your lash line first, then gently press the inner corner and outer corner into place. The band must sit on the skin where your natural lashes grow, not floating above them. Once positioned, use the flat side of your tweezers to press the band down for ten full seconds, fusing your natural lashes and the falsies together. For a convincing blend, pinch your natural lashes and the false lash together gently between your fingers so they point upward in the same direction. This step determines whether do press on lashes look natural or obviously fake, and it takes practice. If the inner corner lifts, you have likely placed the band too far inward; nudge it out a millimetre.
Troubleshooting: Fixing Lifted Corners and Common Mistakes
Lifted corners are the most reported frustration, and they almost always trace back to placement or adhesive timing. If the outer corner of your instant lashes pops up within an hour, the band likely extends past your natural lash line and catches on your eyelid when you blink. Re-trim the outer edge and reapply. If the inner corner lifts, your eye may produce excess moisture there; dab the area dry with a tissue and press the corner down for an extra ten seconds. Another frequent error is touching the lashes too soon after application. Give the adhesive a full two minutes to set before you blink rapidly or apply any eye makeup.
Understanding the why behind the lift is what separates a one-time fix from a permanent solution. Here are the three most common mechanical reasons corners lift, and how to correct them mid-wear:
1. The 'Tent Pole' Effect (Outer Corner): Your natural lashes grow in a fan pattern, curving outward. If the false lash band is too stiff or too long, it acts like a tent pole, pushing against the natural lash growth direction and forcing the outer edge to pop up. The fix isn't just trimming, it's angling. When you apply the adhesive, hold the band at a 45-degree angle to your lash line, not parallel to it. This allows the outer edge to follow the upward sweep of your natural lashes. If it still lifts, use a clean spoolie to brush your natural lashes and the false lash together, fusing them into a single unit that moves as one.
2. The 'Tear Duct' Lift (Inner Corner): The inner corner is a high-moisture zone. Even if you've dried the area perfectly, your tear duct can produce a film of moisture within minutes, breaking down the adhesive bond. A common pattern is that the inner corner lifts within 30-60 minutes of wear. The professional fix is to apply a micro-dot of extra adhesive specifically to the inner corner tab, not a full re-glue. Wait for it to become tacky, then press it down for 20 seconds. This creates a stronger, localized bond that resists moisture. If you have chronic watery eyes, consider applying a tiny amount of translucent powder to the inner corner skin before application to absorb moisture.
3. The 'Blink' Snag (Mid-Band): If the middle of the lash lifts, it's often because the band wasn't pressed down firmly enough during the initial 10-second hold, or you blinked too forcefully before the adhesive fully cured. The adhesive needs a full 2 minutes to reach maximum bond strength. If you feel a snag mid-wear, gently press the band down with your fingertip for 10 seconds. If it persists, the issue is likely that you applied too much glue, creating a thick, rubbery line that doesn't flex with your eyelid. In this case, remove the lash and start with a thinner adhesive layer.
How Long Do Instant Lashes Stay On? And How to Remove Press-On Lashes Without Damage
How long do instant lashes stay on depends on the adhesive and your routine. A quality, waterproof bond typically holds for a full day of wear, including showers and humidity, but they are designed for single-day use and should not be slept in. Overnight wear strains your natural lashes and risks pulling them out (aao.org). When the day is done, knowing how to remove press on lashes without damage is essential. Never tug or yank the band off; this tears your natural lashes and irritates the eyelid. Instead, soak a cotton pad in oil-based makeup remover and press it against your closed eye for 20 to 30 seconds (the American Academy of Dermatology). The oil dissolves the adhesive, allowing the lash to slide off with zero force. Gently peel from the outer corner inward, then cleanse the eyelid to remove any glue residue. Store the lashes back in their tray, and they can be reused several times with proper care.
Conclusion: Your First Application and Next Steps
Your first attempt at applying instant lashes will take longer than subsequent tries, and that is normal. Expect to spend about 15 minutes the first time, dropping to five minutes once the placement clicks. The Kyro Beauty approach centres on super-fast application that is gentle on sensitive eyes, with shower-proof press-on lashes that skip the individual lash glue entirely. For your next set, focus on lash maintenance: clean the band after every wear and never sleep in them.
Frequently Asked Questions
What is the easiest way to apply fake eyelashes for beginners?
The easiest method for beginners is to use press-on lashes with a pre-applied adhesive strip or a lash liner adhesive. Start by prepping your eyelids and natural lashes, then measure the lash band against your eye and trim the outer corner if needed. Apply a thin layer of lash glue, wait 30 to 60 seconds until it feels tacky, and then place the lash as close to your natural lash line as possible. Using tweezers or an applicator tool gives you more control than your fingers.
How long do instant lashes stay on?
Instant lashes, such as press-on styles, are designed for temporary wear. With proper application and a quality adhesive, they typically stay on for up to 12 hours, making them perfect for a full day at work or a night out. They are not meant for overnight wear or multi-day use like professional extensions. To get the full wear time, make sure your eyelids are clean and oil-free before applying, and avoid touching or rubbing your eyes throughout the day.
How do you remove press-on lashes without damage?
Never pull or yank press-on lashes off, as this can damage your natural lashes and the delicate skin on your eyelid. Instead, soak a cotton pad with an oil-based makeup remover or micellar water. Press the pad onto your closed eyelid for 20 to 30 seconds to dissolve the adhesive. The lash should slide off easily. After removal, gently cleanse the area and store the lashes back on their tray so you can reuse them.
Are instant lashes safe for sensitive eyes?
Instant lashes can be safe for sensitive eyes if you choose the right products. Look for latex-free adhesives and lashes made from synthetic fibers, which are less likely to cause a reaction. Before a full application, do a patch test: apply a small dot of the glue behind your ear or on your wrist and wait 24 hours to check for irritation. If you wear contact lenses, apply your lashes before inserting your lenses and remove them before taking your lenses out.
Getting instant lashes to look natural is a skill built on prep, timing, and gentle removal. Kyro Beauty makes that first application easier with all-in-one kits designed for sensitive eyes and a no-glue press-on option that shortens the learning curve. Get started with Kyro Beauty and master your application in a single evening.
This article was written using GrandRanker
