
Brow Lamination Beginner's Guide: 2026

Table of Contents
- What Is Brow Lamination and How Does It Work?
- Step-by-Step: How to Apply Brow Lamination at Home
- Brow Lamination vs. Microblading: Which Is Right for You?
- Brow Lamination Aftercare Tips for Long-Lasting Results
- How Long Does Brow Lamination Last and When to Reapply?
- Safety Considerations: Ingredient Sensitivity and Patch Testing
- Troubleshooting Failed Lamination and Next Steps
- Conclusion
Last Updated: August 22, 2026
What Is Brow Lamination and How Does It Work?
Brow lamination is a semi-permanent treatment that restructures your brow hairs to create a fluffy, brushed-up look lasting 6-8 weeks. Unlike microblading, which adds pigment, brow lamination works with your existing hair, lifting and setting it in place using a chemical restructuring process. It delivers salon-quality results without permanent commitment.
The Chemical Restructuring Process
Brow lamination relies on three sequential solutions that reshape your hair cuticle by temporarily altering the hydrogen bonds that determine hair direction. The first solution (usually peroxide or keratin-based) softens the cuticle structure. A setting lotion then holds hairs in your desired position while bonds reset. Finally, a neutralizing solution locks everything in place and closes the cuticle.
The entire process takes 20-30 minutes. Over 6-8 weeks, new untreated hairs emerge through your natural growth cycle, causing the effect to gradually fade. Patch testing matters if your skin is sensitive to peroxide or other chemical ingredients.
Why the Brushed-Up Look Works
The lifted, fluffy aesthetic creates the illusion of higher brow density and a more defined arch. When hairs point upward rather than lying flat, they catch light differently and appear thicker. This is particularly noticeable if you have sparse or downward-growing brows. The brushed-up positioning also emphasizes your natural brow shape without creating an arch that isn't there.
Step-by-Step: How to Apply Brow Lamination at Home
At-home kits from brands like Kyro Beauty make this treatment accessible without salon costs. Most kits include pre-measured solutions and beginner-friendly instructions.
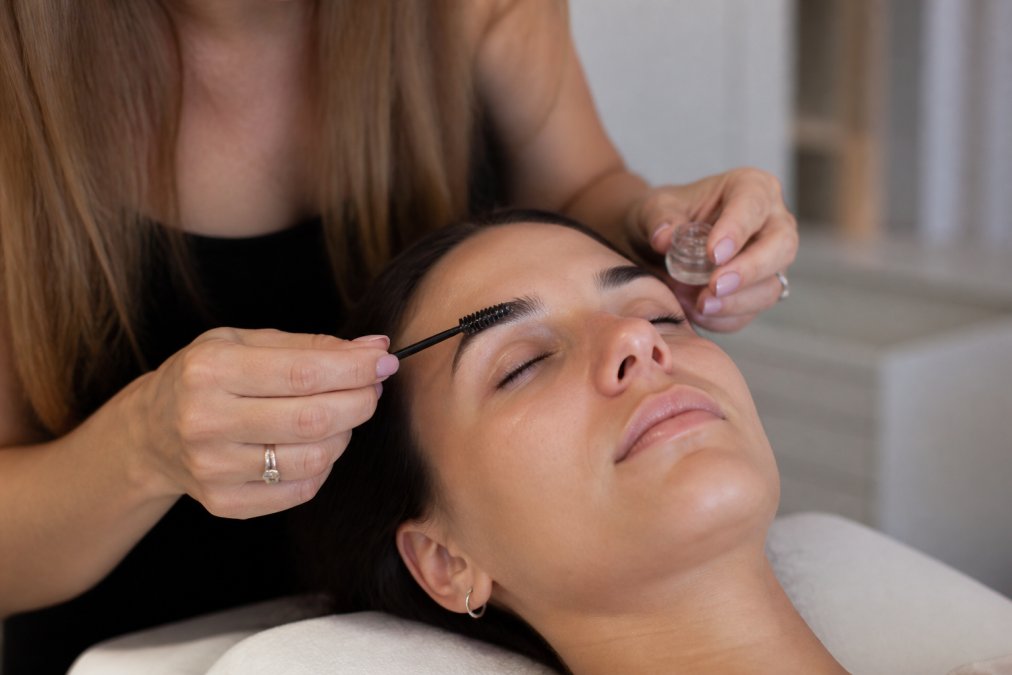
Preparation and Brow Mapping
Before applying any solution, map your brows by identifying your natural shape. Cleanse thoroughly with gentle cleanser to remove oils and makeup, then pat dry completely. Use a disposable spoolie to brush hairs upward in your desired direction. Identify your natural arch and decide if you want to emphasize it or create a different shape.
Apply a thin line of petroleum jelly around your brow area to prevent tint from staining skin.
Application and Setting
Apply the first solution evenly across your brow from inner to outer. Set a timer for 10-15 minutes, do not exceed the recommended time. Remove with a damp cotton pad.
Apply the setting lotion next, brushing hairs upward into your desired shape. Set a timer for 10 minutes. Remove with a damp pad. Apply the neutralizing solution for 5-10 minutes, this crucial step stops the chemical process and closes the hair cuticle. Remove and apply the included aftercare serum to hydrate your brows.
Common Mistakes to Avoid
Uneven application causes patchy lifting. Use a light hand and ensure every hair gets solution contact. Rushing through timing weakens results; follow the timer exactly. Skip the patch test at your peril, apply a tiny amount behind your ear 24-48 hours before full application to check for redness, itching, or swelling. Over-brushing during application breaks hair; use gentle, directional strokes.
Brow Lamination vs. Microblading: Which Is Right for You?
Microblading is semi-permanent tattooing where a technician creates hair-like strokes and deposits pigment into skin. Results last 18-24 months. It's ideal for sparse brows or when you want definition your natural brows can't achieve.
Brow lamination restructures existing hair without pigment. Results last 6-8 weeks. It's ideal if you have decent density but want fuller, more groomed appearance.
| Aspect | Brow Lamination | Microblading |
|---|---|---|
| Process | Chemical restructuring of existing hair | Pigment tattooing into skin |
| Results Duration | 6-8 weeks | 18-24 months |
| Reversibility | Temporary; fades naturally | Semi-permanent; requires removal if unwanted |
| Best For | Fuller appearance, grooming enhancement | Adding hair definition, sparse brows |
| Pain Level | Minimal | Moderate to high |
| Maintenance | Aftercare serum, gentle cleansing | Touch-ups every 12-18 months |
| Cost | Lower per application | Higher upfront, lower over time |
Choose lamination for temporary, low-commitment enhancement. Choose microblading for long-lasting definition. Many people do both: microblading for base shape, then lamination between touch-ups.
Brow Lamination Aftercare Tips for Long-Lasting Results
The first 24 hours are critical for lasting results.
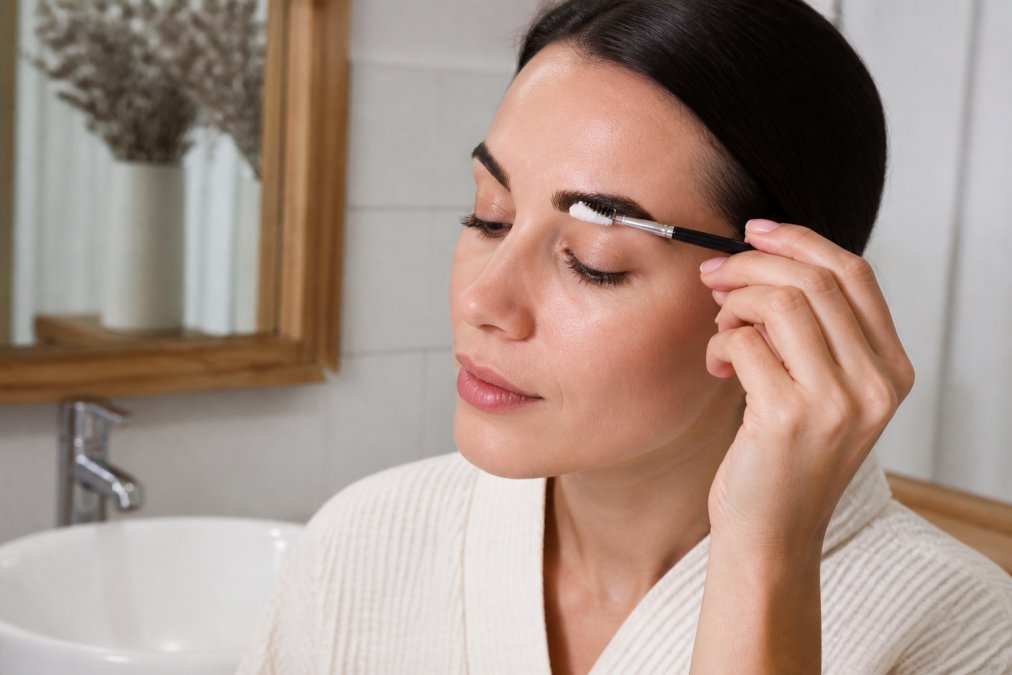
First 24 Hours: Critical Care Steps
Do not wet your brows for 24 hours, water reactivates chemical bonds and undoes the effect. Avoid touching, rubbing, or brushing them. Skip makeup, serums, oils, and any products on your brows. Avoid heat exposure including saunas, steam rooms, and intense exercise. Sleep on your back if possible to avoid flattening them.
Weekly and Ongoing Maintenance
Use gentle cleanser when washing your face; avoid harsh scrubs near brows. Apply aftercare serum 2-3 times weekly to keep hair moisturized and extend results. Brush brows gently upward each morning with a clean spoolie to maintain the lifted shape. Avoid chlorine and saltwater for the first week. Be cautious with blow dryers near your face.
How Long Does Brow Lamination Last and When to Reapply?
Brow lamination typically lasts 6-8 weeks, depending on your hair growth cycle, aftercare adherence, and hair type. Fine hair may fade after 5-6 weeks; coarse hair may last 8-9 weeks (peer-reviewed research). You'll notice gradual fading around week 4-5 as new untreated hair grows in.
You can reapply as soon as the effect fully fades with no waiting period. Many people schedule applications every 6-8 weeks to maintain the look year-round.
Safety Considerations: Ingredient Sensitivity and Patch Testing
Brow lamination involves peroxide or other chemical restructuring agents that can cause reactions in sensitive skin. Most kits contain hydrogen peroxide-based restructuring lotion, setting lotion, and neutralizing solution.
Do a patch test 24-48 hours before full application. Apply a small amount behind your ear, on your inner arm, or inner thigh. Watch for redness, itching, swelling, or burning. If any appear within 24 hours, do not use the product on your brows.
If you have extremely sensitive skin, known peroxide sensitivity, or skin conditions like eczema near the brow area, consult a dermatologist first. Pregnant people should discuss with their healthcare provider if unsure about chemical exposure.
Troubleshooting Failed Lamination and Next Steps
Uneven lifting means uneven application. Next time, use lighter hand and ensure every hair gets product coverage.
Brows that don't hold shape suggest under-processing. Follow the kit's instructions exactly; different brands have slightly different processing times.
Results fading in 2-3 weeks often points to skipped or rushed neutralizing step, which is crucial for locking in results.
Hair breakage means over-processing or too much brushing. Use gentler pressure and strictly follow timing. Let brows rest 2-3 weeks before retrying.
Allergic reaction (redness, itching, swelling) means the product isn't compatible. Stop immediately and rinse with cool water. Don't attempt another lamination with that product.
If your first attempt doesn't work, wait 2-3 weeks and try again with better technique, watch tutorial videos, or try a different brand. Professional application is always an option if DIY doesn't work.
Brow lamination is the go-to treatment for salon-quality brows without permanent commitment. Whether doing it at home or professionally, success depends on understanding the process, following aftercare diligently, and being honest about whether DIY suits you.
If you're ready to try lamination, Kyro Beauty's all-in-one kits include everything you need with clear beginner-friendly instructions. The gentle formulas are designed for sensitive eyes and skin, and kits include hydration serums to extend results. Shop the Kit and experience salon-quality brow enhancement at home.
Frequently Asked Questions
Is brow lamination safe for sensitive skin?
Brow lamination involves chemical restructuring of hair cuticles, so a patch test is essential before full application, especially for sensitive skin. Most kits use gentle formulas, but reactions can occur. Apply a small amount behind your ear 24 hours before treatment. If redness, itching, or swelling develops, skip lamination. Kyro Beauty kits are formulated to be gentle on sensitive eyes. Always read ingredient lists and consult a dermatologist if you have severe sensitivities.
How long does brow lamination last with a home kit?
Professional brow lamination typically lasts 4-6 weeks, and home kits can deliver similar results when applied correctly. Duration depends on your hair growth cycle, aftercare routine, and product quality. Proper maintenance, avoiding water for 24 hours, using hydration serums, and gentle cleansing, extends longevity. Some users report results lasting up to 8 weeks with excellent aftercare. Reapplication frequency varies by individual, but most people relaminate every 4-6 weeks to maintain the brushed-up look and brow shape.
What should I avoid doing before getting brow lamination?
Skip exfoliating or waxing your brows for at least a week before treatment to avoid irritating skin. Don't apply makeup, oils, or serums directly to brows the day of application. Avoid caffeine and alcohol beforehand as they can increase skin sensitivity. Don't use harsh cleansing products on your brows 48 hours prior. If you've had a recent allergic reaction or skin condition on your face, wait until it fully heals. Finally, don't rush the patch test, perform it 24 hours before full application to check for chemical sensitivity.
Can I do brow lamination at home if I've never done it before?
Yes, home brow lamination is designed for beginners. Most kits include step-by-step instructions, disposable spoolies, and pre-measured solutions. The key is following timing precisely, over-processing damages hair, while under-processing delivers weak results. Start with brow mapping to plan your shape, then apply solutions in the correct order. Watch tutorial videos before starting. The process takes 20-30 minutes. While professional application offers expertise, many first-timers achieve salon-quality results using quality kits.
What happens if I wet my laminated brows before 24 hours?
Water exposure in the first 24 hours can interfere with the setting lotion and neutralizing solution, weakening the treatment. Your brows may lose definition, the brushed-up look may flatten, and results won't last as long. The chemical restructuring needs time to fully set. Avoid showers, swimming, and even washing your face near your brows during this critical window. After 24 hours, you can resume normal washing, but use gentle cleansing foam and avoid rubbing. This first day is crucial for maximum longevity and shape retention.
How does brow lamination compare to microblading?
Brow lamination lifts and sets existing hair into a brushed-up shape using chemical restructuring, while microblading implants pigment into skin to create new hair-like strokes. Lamination enhances natural brows and lasts 4-6 weeks; microblading creates semi-permanent pigment lasting 1-3 years. Lamination is non-invasive, painless, and ideal for those with good brow density. Microblading suits sparse brows or those wanting defined shape long-term but involves needles and healing time. Both can be combined for fuller, shaped, tinted results. Choose lamination for quick, reversible enhancement; choose microblading for lasting definition.
What ingredients should I check for if I have sensitive eyes?
Common irritants in brow lamination kits include peroxide, ammonia, and certain preservatives. Check for these and avoid products containing them if you've had reactions. Look for kits with hydrating ingredients like keratin treatment formulas and gentle setting lotions. Kyro Beauty kits prioritize sensitive-eye safety with formulations free from harsh chemicals. Always perform a patch test 24 hours before full application, apply a tiny amount behind your ear to monitor for redness, swelling, or itching. If you wear contact lenses, remove them before treatment and wait a few hours before reinserting.
What's the best way to map my brows before lamination?
Brow mapping determines your arch placement and overall shape. Start by identifying three key points: the inner brow (where the arch begins), the arch peak (highest point), and the tail (where it ends). Use a pencil held vertically at your nose to mark the inner point; angle it at 45 degrees over your pupil for the arch; angle it toward the outer corner of your eye for the tail. Mark these points lightly with a brow pencil. Adjust based on your face shape: round faces benefit from higher arches, square faces from softer curves. Take a photo before lamination to guide your application and ensure symmetry.
This article was written using GrandRanker
