Same day Worldwide Shipping
Klarna
FREE Shipping from €40,-
Same day Worldwide Shipping
Klarna
FREE Shipping from €40,-
Same day Worldwide Shipping
Klarna
FREE Shipping from €40,-
Same day Worldwide Shipping
Klarna
FREE Shipping from €40,-
Same day Worldwide Shipping
Klarna
FREE Shipping from €40,-
Same day Worldwide Shipping
Klarna
FREE Shipping from €40,-
Same day Worldwide Shipping
Klarna
FREE Shipping from €40,-
Same day Worldwide Shipping
Klarna
FREE Shipping from €40,-
Same day Worldwide Shipping
Klarna
FREE Shipping from €40,-
Same day Worldwide Shipping
Klarna
FREE Shipping from €40,-

HOW TO USE YOUR BROW LIFTING KIT

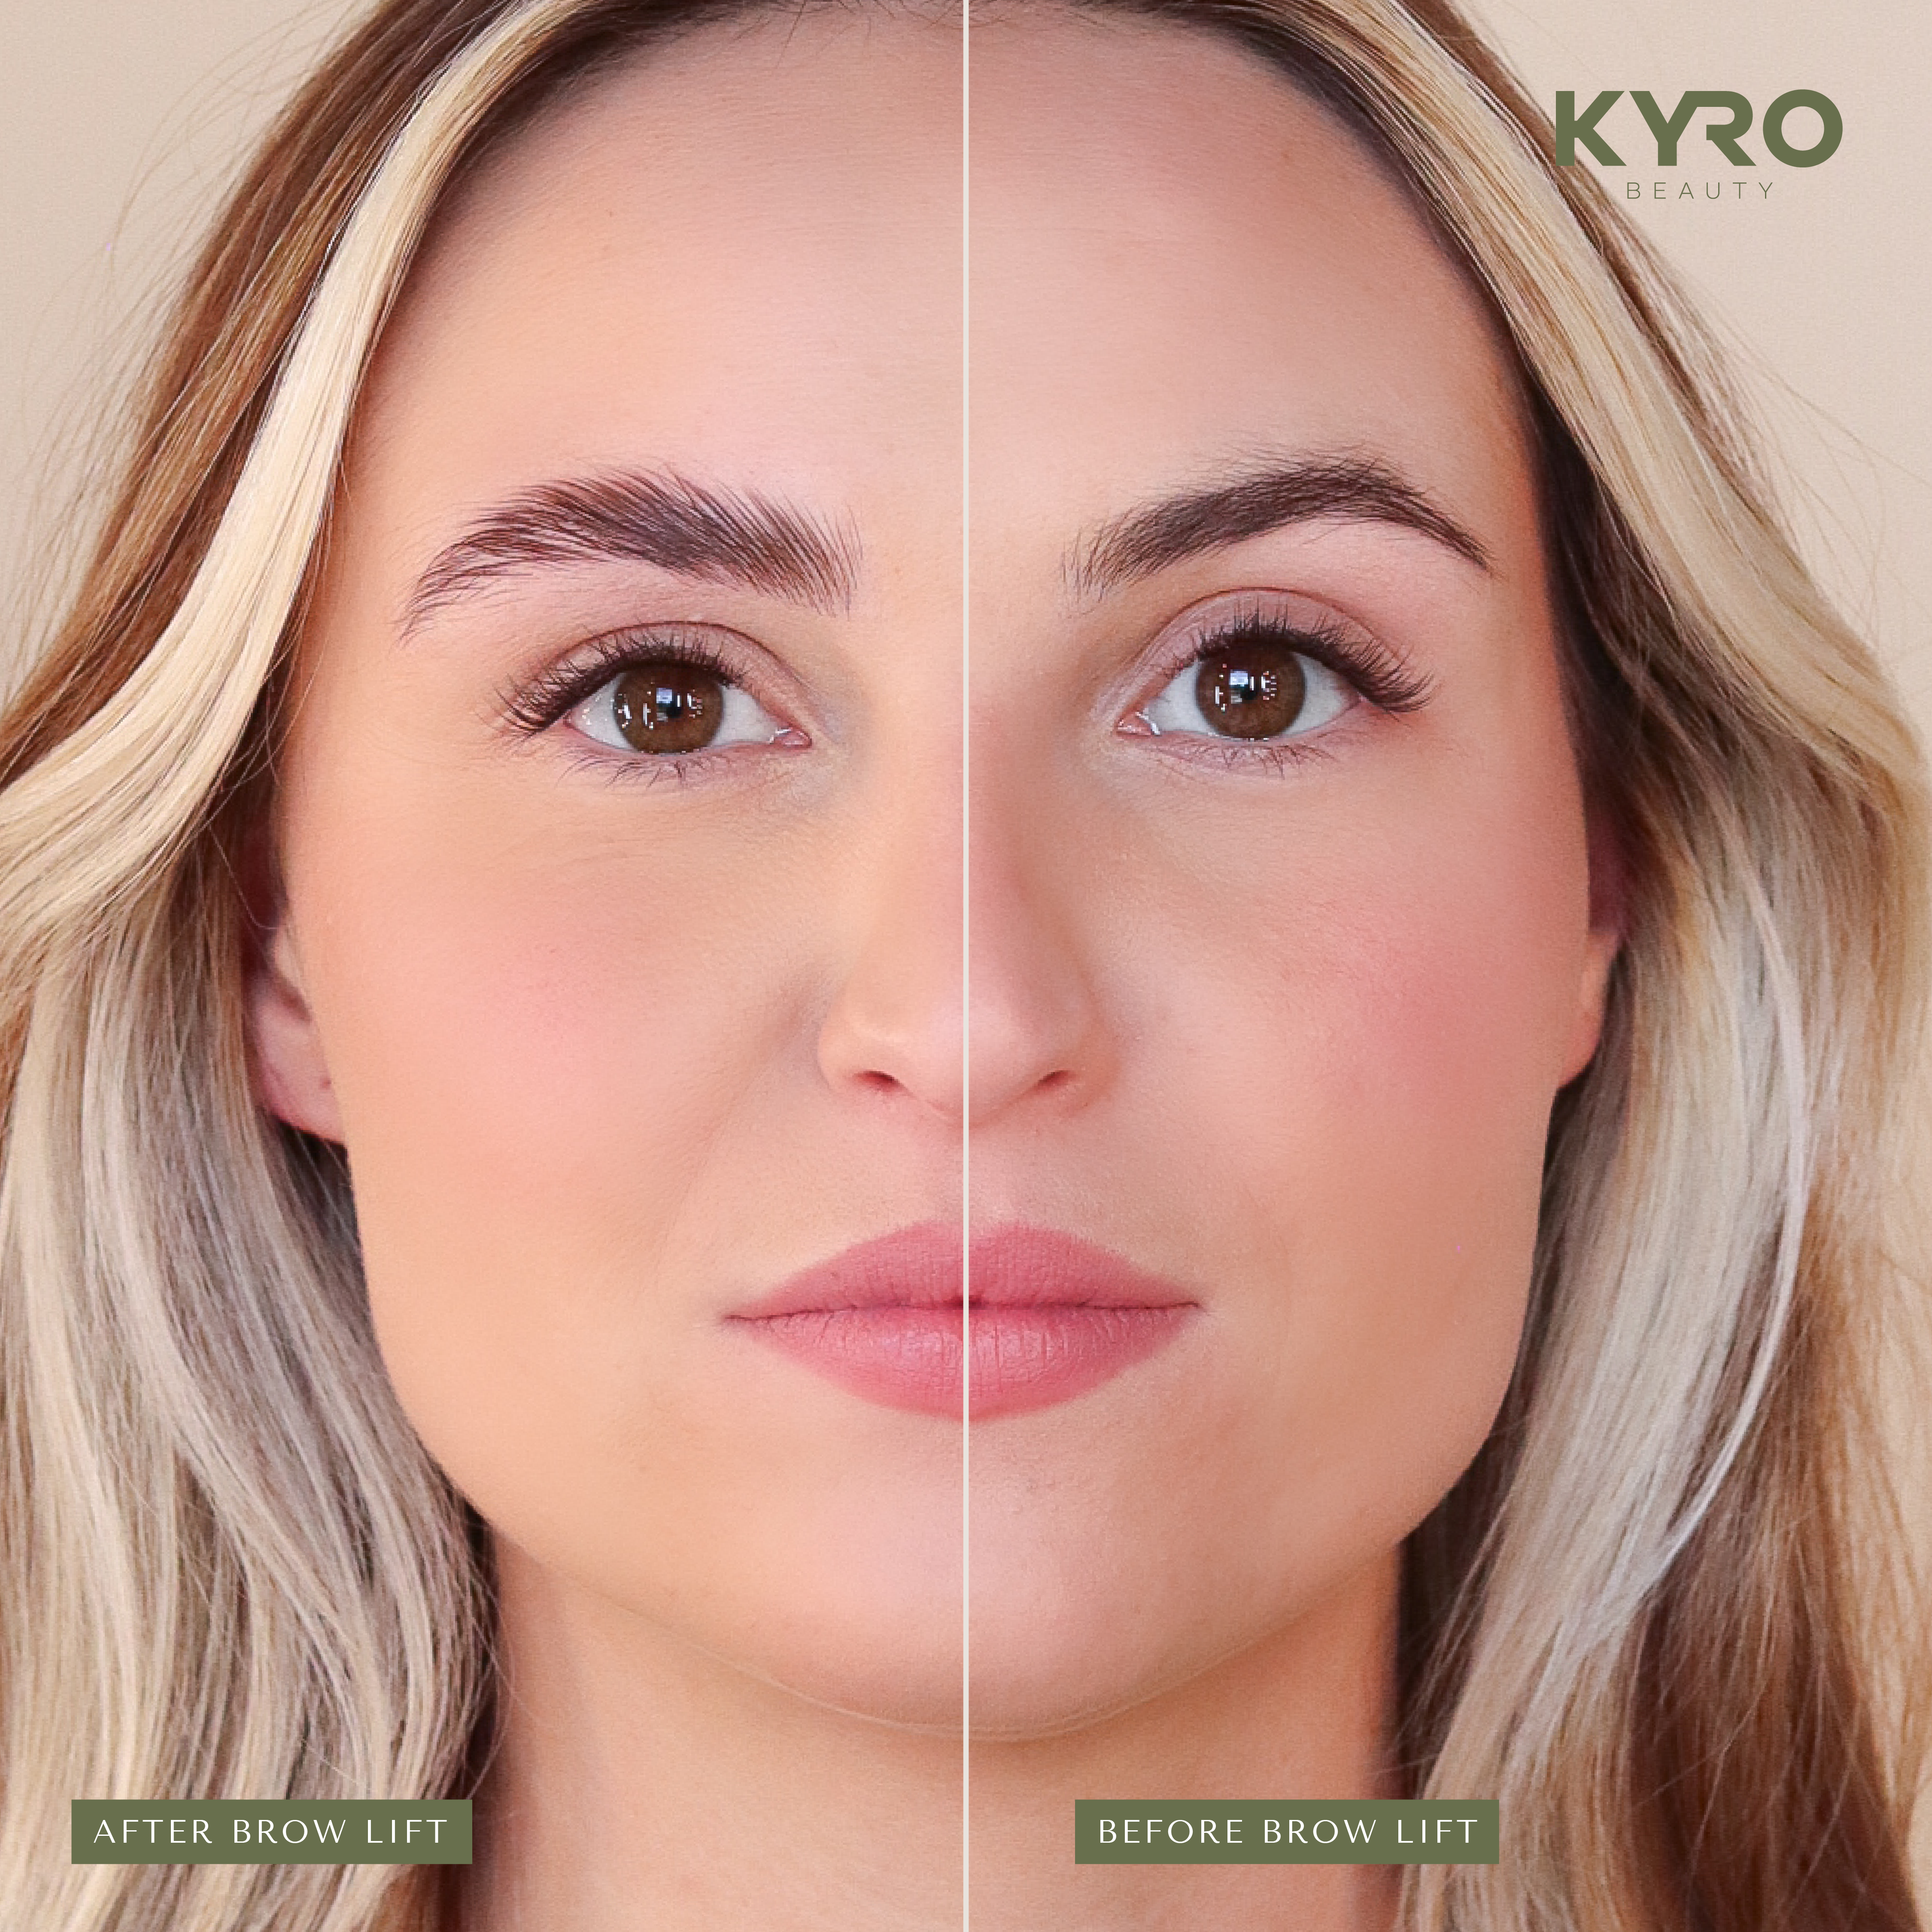
Ready to transform your brows wherever you are? With our DIY Brow Lifting Kit, you can create beautiful, full laminated brows that last up to 8 weeks with just one simple application. On this page, you'll find step-by-step instructions on how to perform the brow lift.

Patch Test

A patch test, or also called allergy test, is a method to check whether a beauty product or ingredient provokes an allergy on your skin. A Brow Lift treatment uses different types of lotions. Although KYRO's Brow Lift products are formulated to be as natural as possible, in rare instances, a contact allergy may still occur. Such as highly irritated skin and sometimes even blisters. By performing a patch test, you can rule this out. So, it is very important to do a patch test, and don't skip this step!

You perform the patch test at least 72 hours prior to your Brow Lift treatment. Why? It can take up to 48 hours for an (allergic) reaction to develop.

  1. Open the sachet of the Perming Lotion and apply a small amount of lotion to your wrist or inner elbow using a microbrush.
  2. After 8 minutes, remove the Perming Lotion from the skin with a clean cotton swab.
  3. Repeat step 2 and step 3 for the Fixing Lotion on the same spot.
  4. Open the sachet of the Nutrition Lotion and apply to the same area.
  5. Leave the Nutrition Lotion on for up to 24 hours, in the meantime do not get the skin wet.
  6. Does no reaction occur within 48 hours of the patch test? For example, redness, itching or a burning sensation. Then you can proceed with the Brow Lift treatment.

Pregnancy or breastfeeding

It is not recommended to apply a Brow Lift treatment during pregnancy or breastfeeding. It certainly cannot harm the unborn child. Because of the hormones, there is an increased risk of an allergic reaction or the result not
turning out as desired. If one gets an allergic reaction, medication such as hormone ointments or antibiotics may be required. Unfortunately, this is not a nice combination with pregnancy or breastfeeding.

Restless skin

Do you have irritated skin, wounds or acne around the eyebrows? Then we do not recommend the Brow Lift treatment. Unfortunately, your skin will be more susceptible to an allergic reaction. 

Just before a sun holiday

After a Brow Lift treatment, you should avoid the sun, and tanning beds, for 48 hours. Sun on Brow Lift can trigger an allergy. The advice is to avoid going into direct sunlight when you have just had your Brow Lift treatment.

Don't panic. Do you have a doubt? Consult your GP, probably hormone ointment or cream will be prescribed. Hope you get rid of the symptoms soon, unfortunately you will not be able to undergo Lash Lift treatment again.

STEP BY STEP

1

Cleanse the brows with the cleanser and cotton pad.

2

Apply the Skin Barrier with the Bamboo Brush, leave for 5 minutes.

Remove with a dry cotton pad.

3

Apply Step 1 Perming Lotion to the brows with a Bamboo Brush and leave in for:

5 min. - thin hairs

6,5 min. - normal hairs

8 min. - thick hairs

4

Comb the eyebrow hairs into the desired shape with an eyebrow brush.

Apply another layer of Step 1 and cover the brows with plastic wrap.

5

Remove the plastic wrap and Step 1 Perming Lotion with a dry cotton pad.

6

Apply Step 2 Fixing Lotion the same way as Step 1 Perming Lotion. Repeat those steps.

7

Remove the plastic wrap and Step 2 Fixing Lotion with a wet cotton swab.

8

Apply Step 3 Nutrion Lotion to the brows and comb through with an brush.

Keep the brows dry for 24 hours for optimal results.