Same day Worldwide Shipping
Klarna
FREE Shipping from €40,-
Same day Worldwide Shipping
Klarna
FREE Shipping from €40,-
Same day Worldwide Shipping
Klarna
FREE Shipping from €40,-
Same day Worldwide Shipping
Klarna
FREE Shipping from €40,-
Same day Worldwide Shipping
Klarna
FREE Shipping from €40,-
Same day Worldwide Shipping
Klarna
FREE Shipping from €40,-
Same day Worldwide Shipping
Klarna
FREE Shipping from €40,-
Same day Worldwide Shipping
Klarna
FREE Shipping from €40,-
Same day Worldwide Shipping
Klarna
FREE Shipping from €40,-
Same day Worldwide Shipping
Klarna
FREE Shipping from €40,-
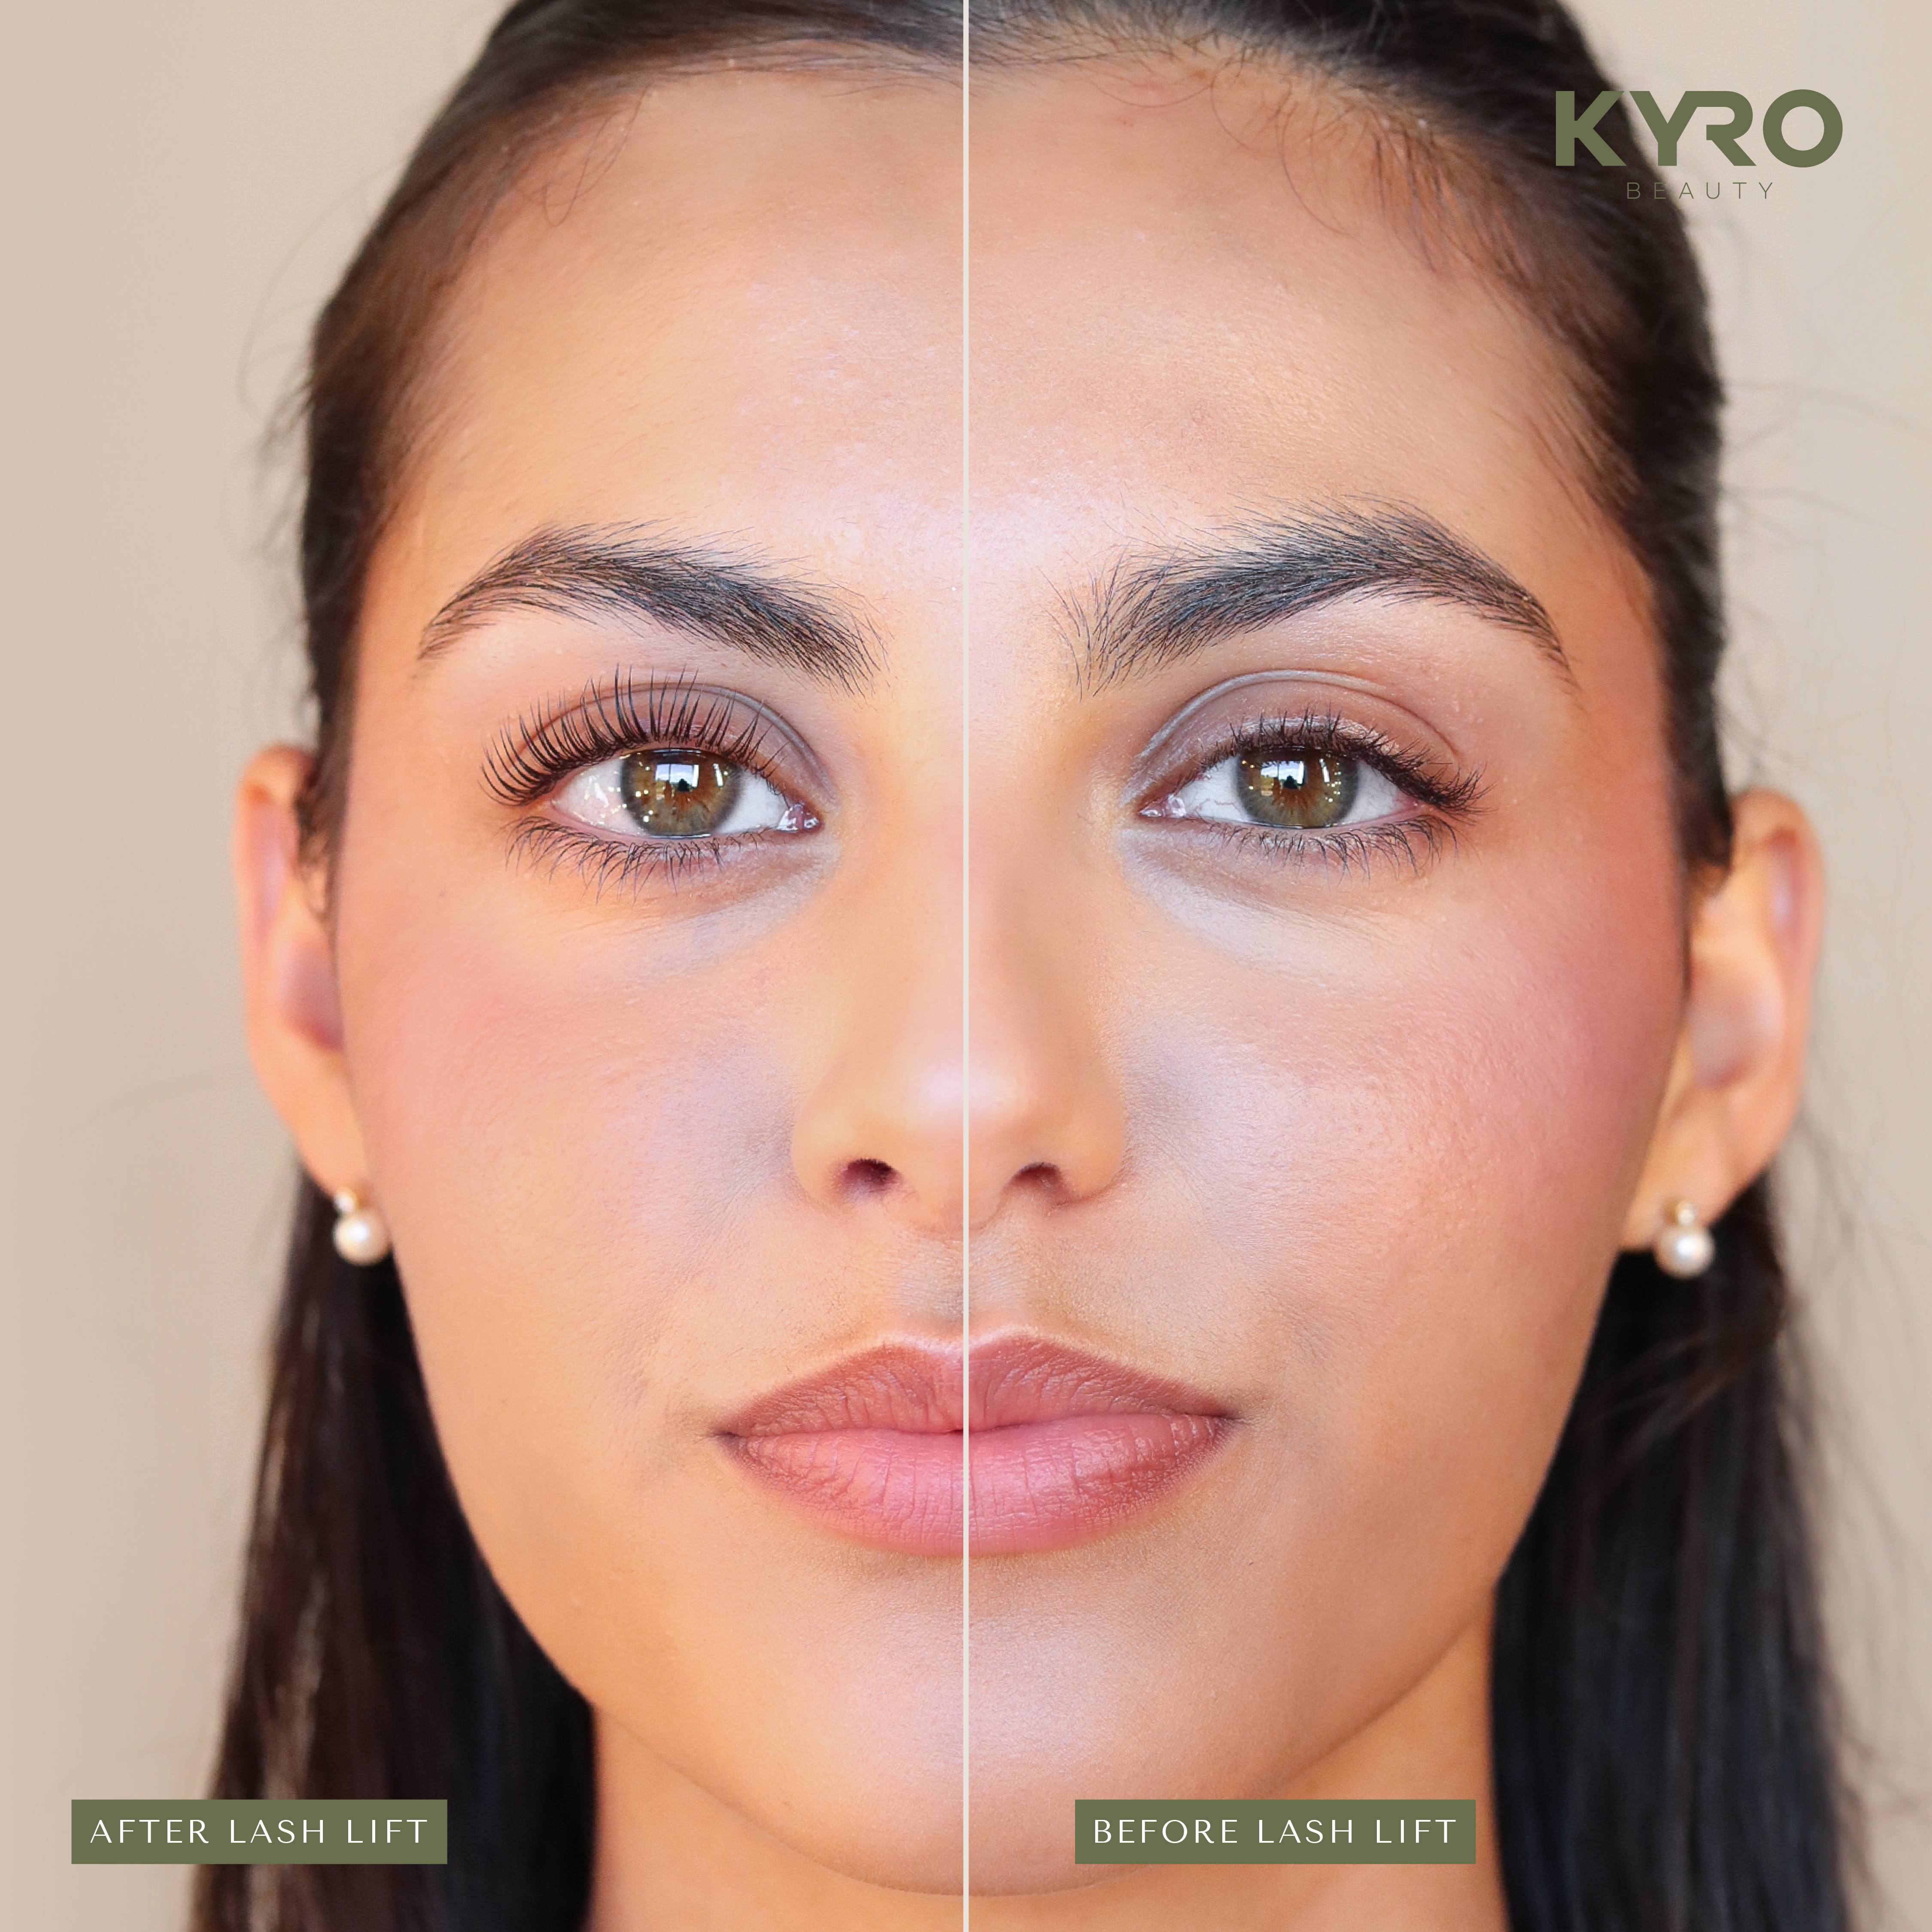
DIY Lash Lifting Kit - KYRO Beauty
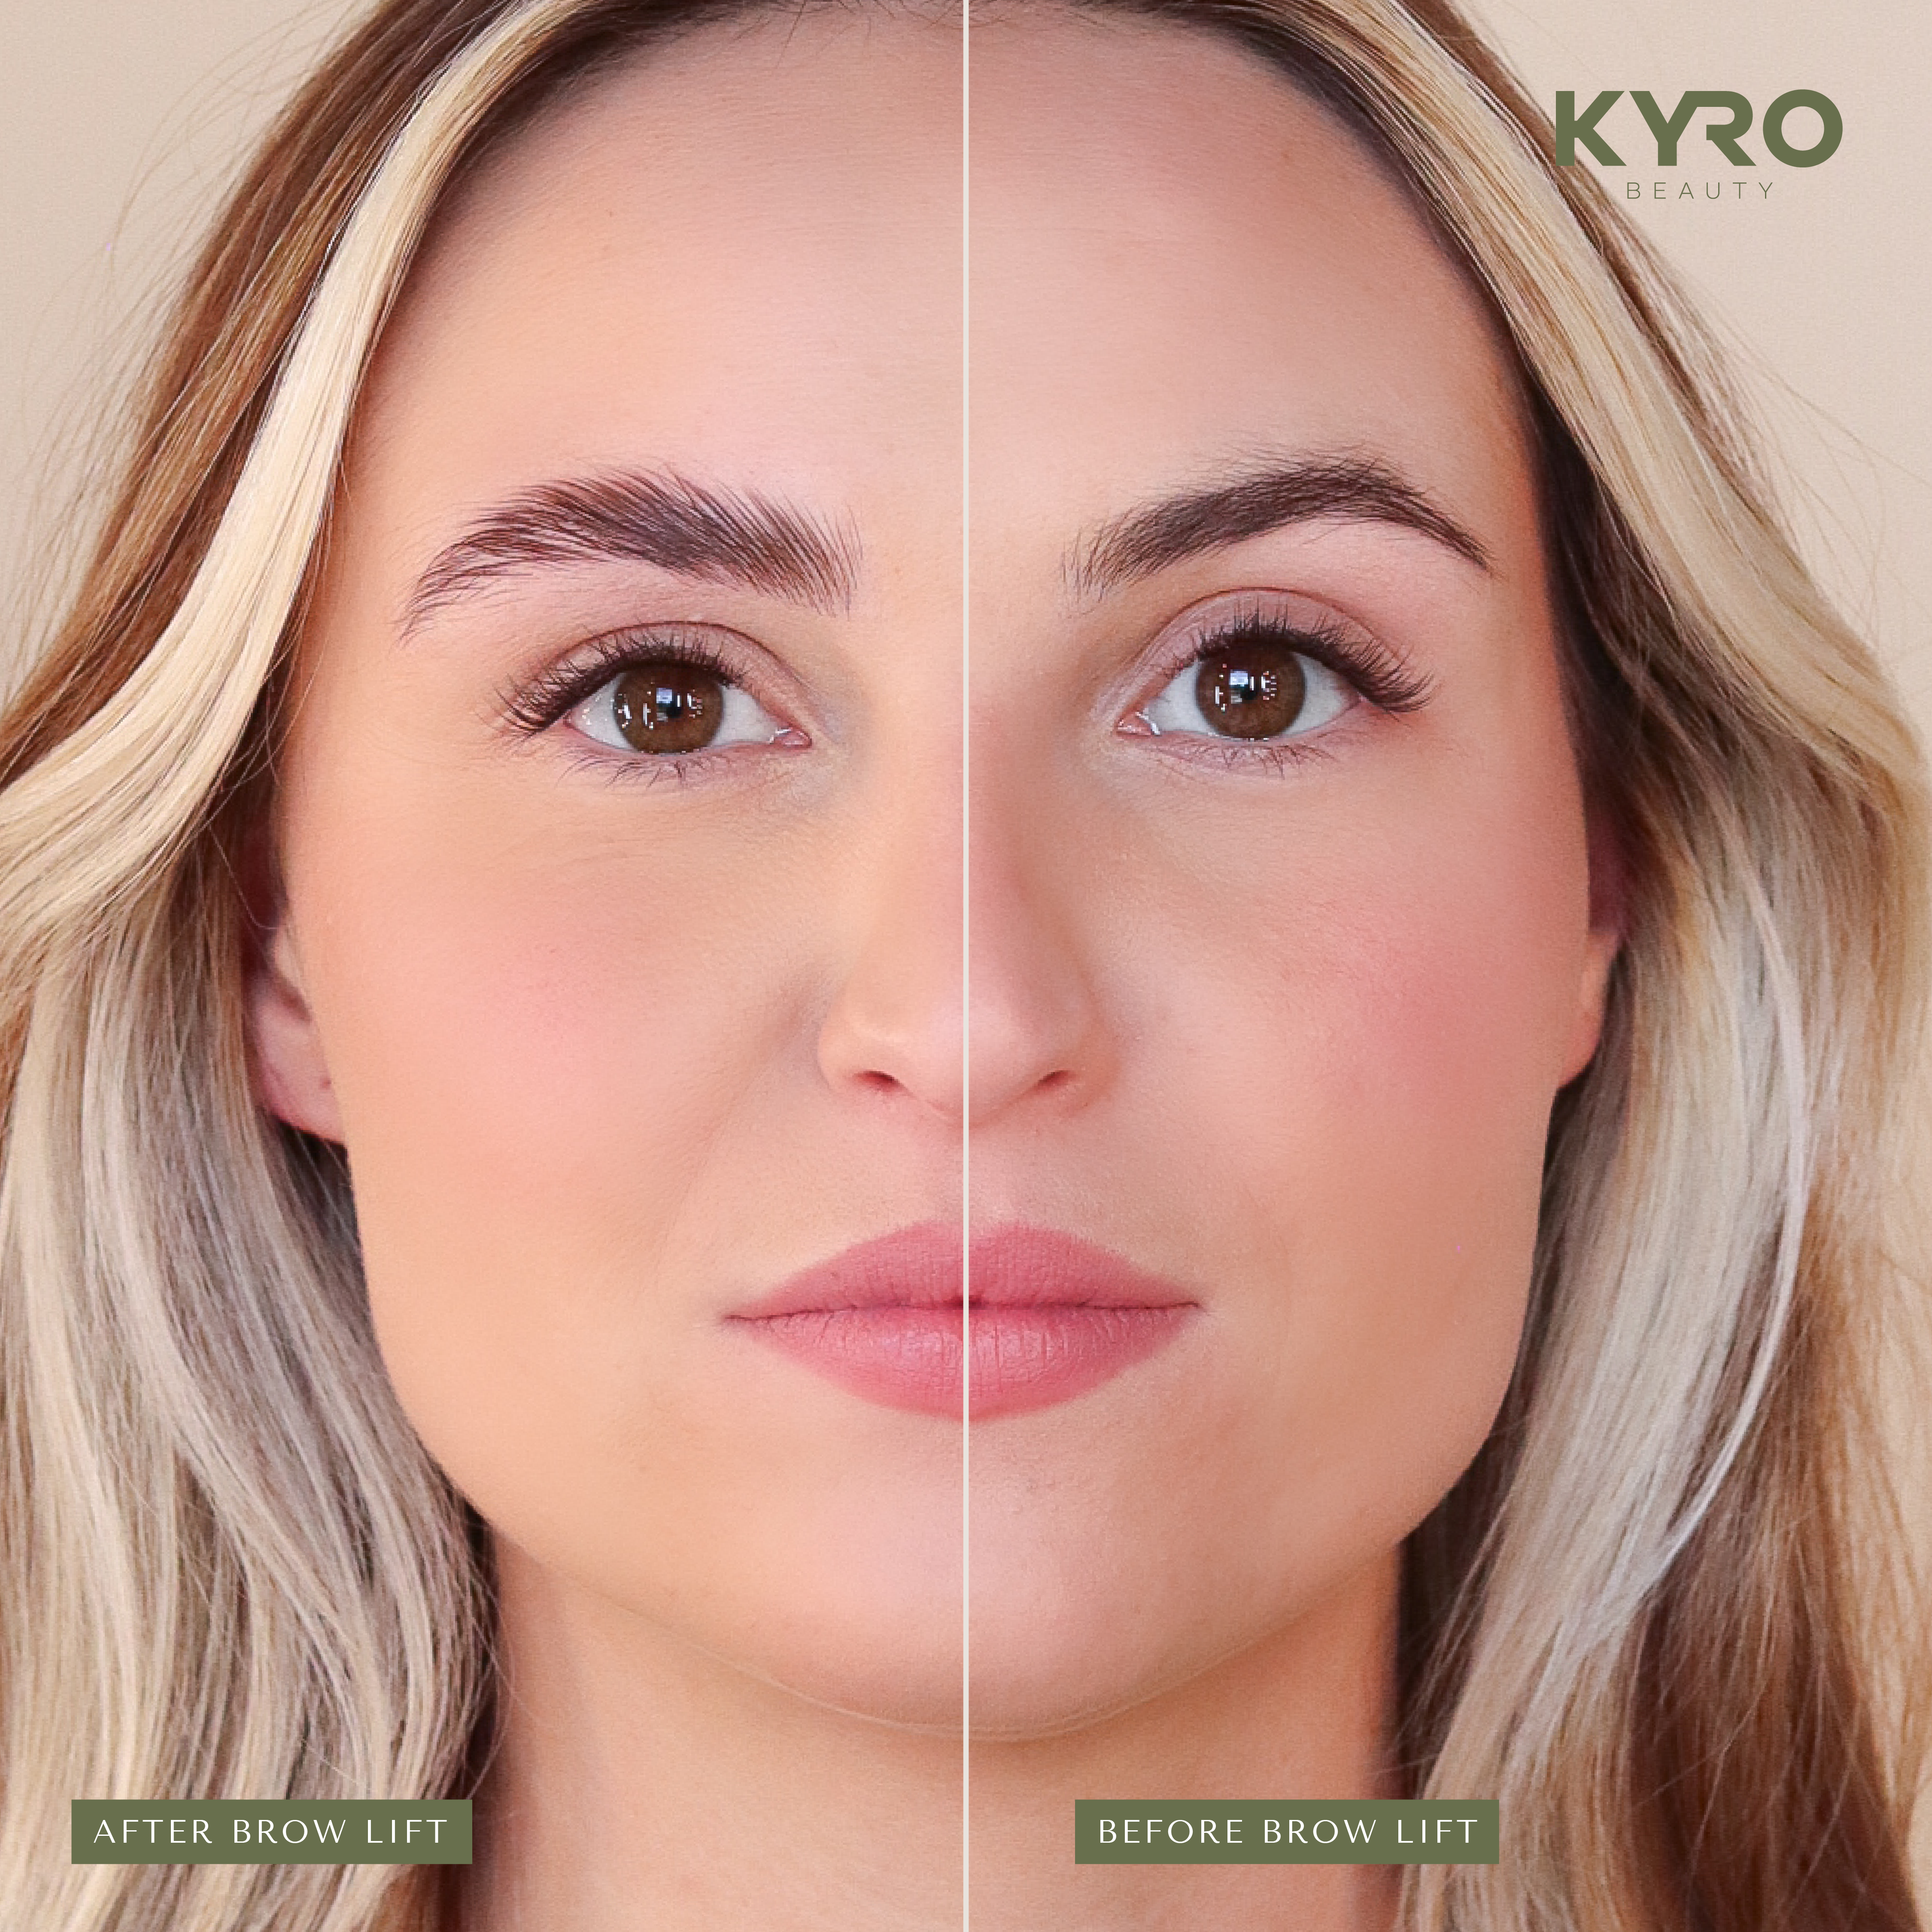
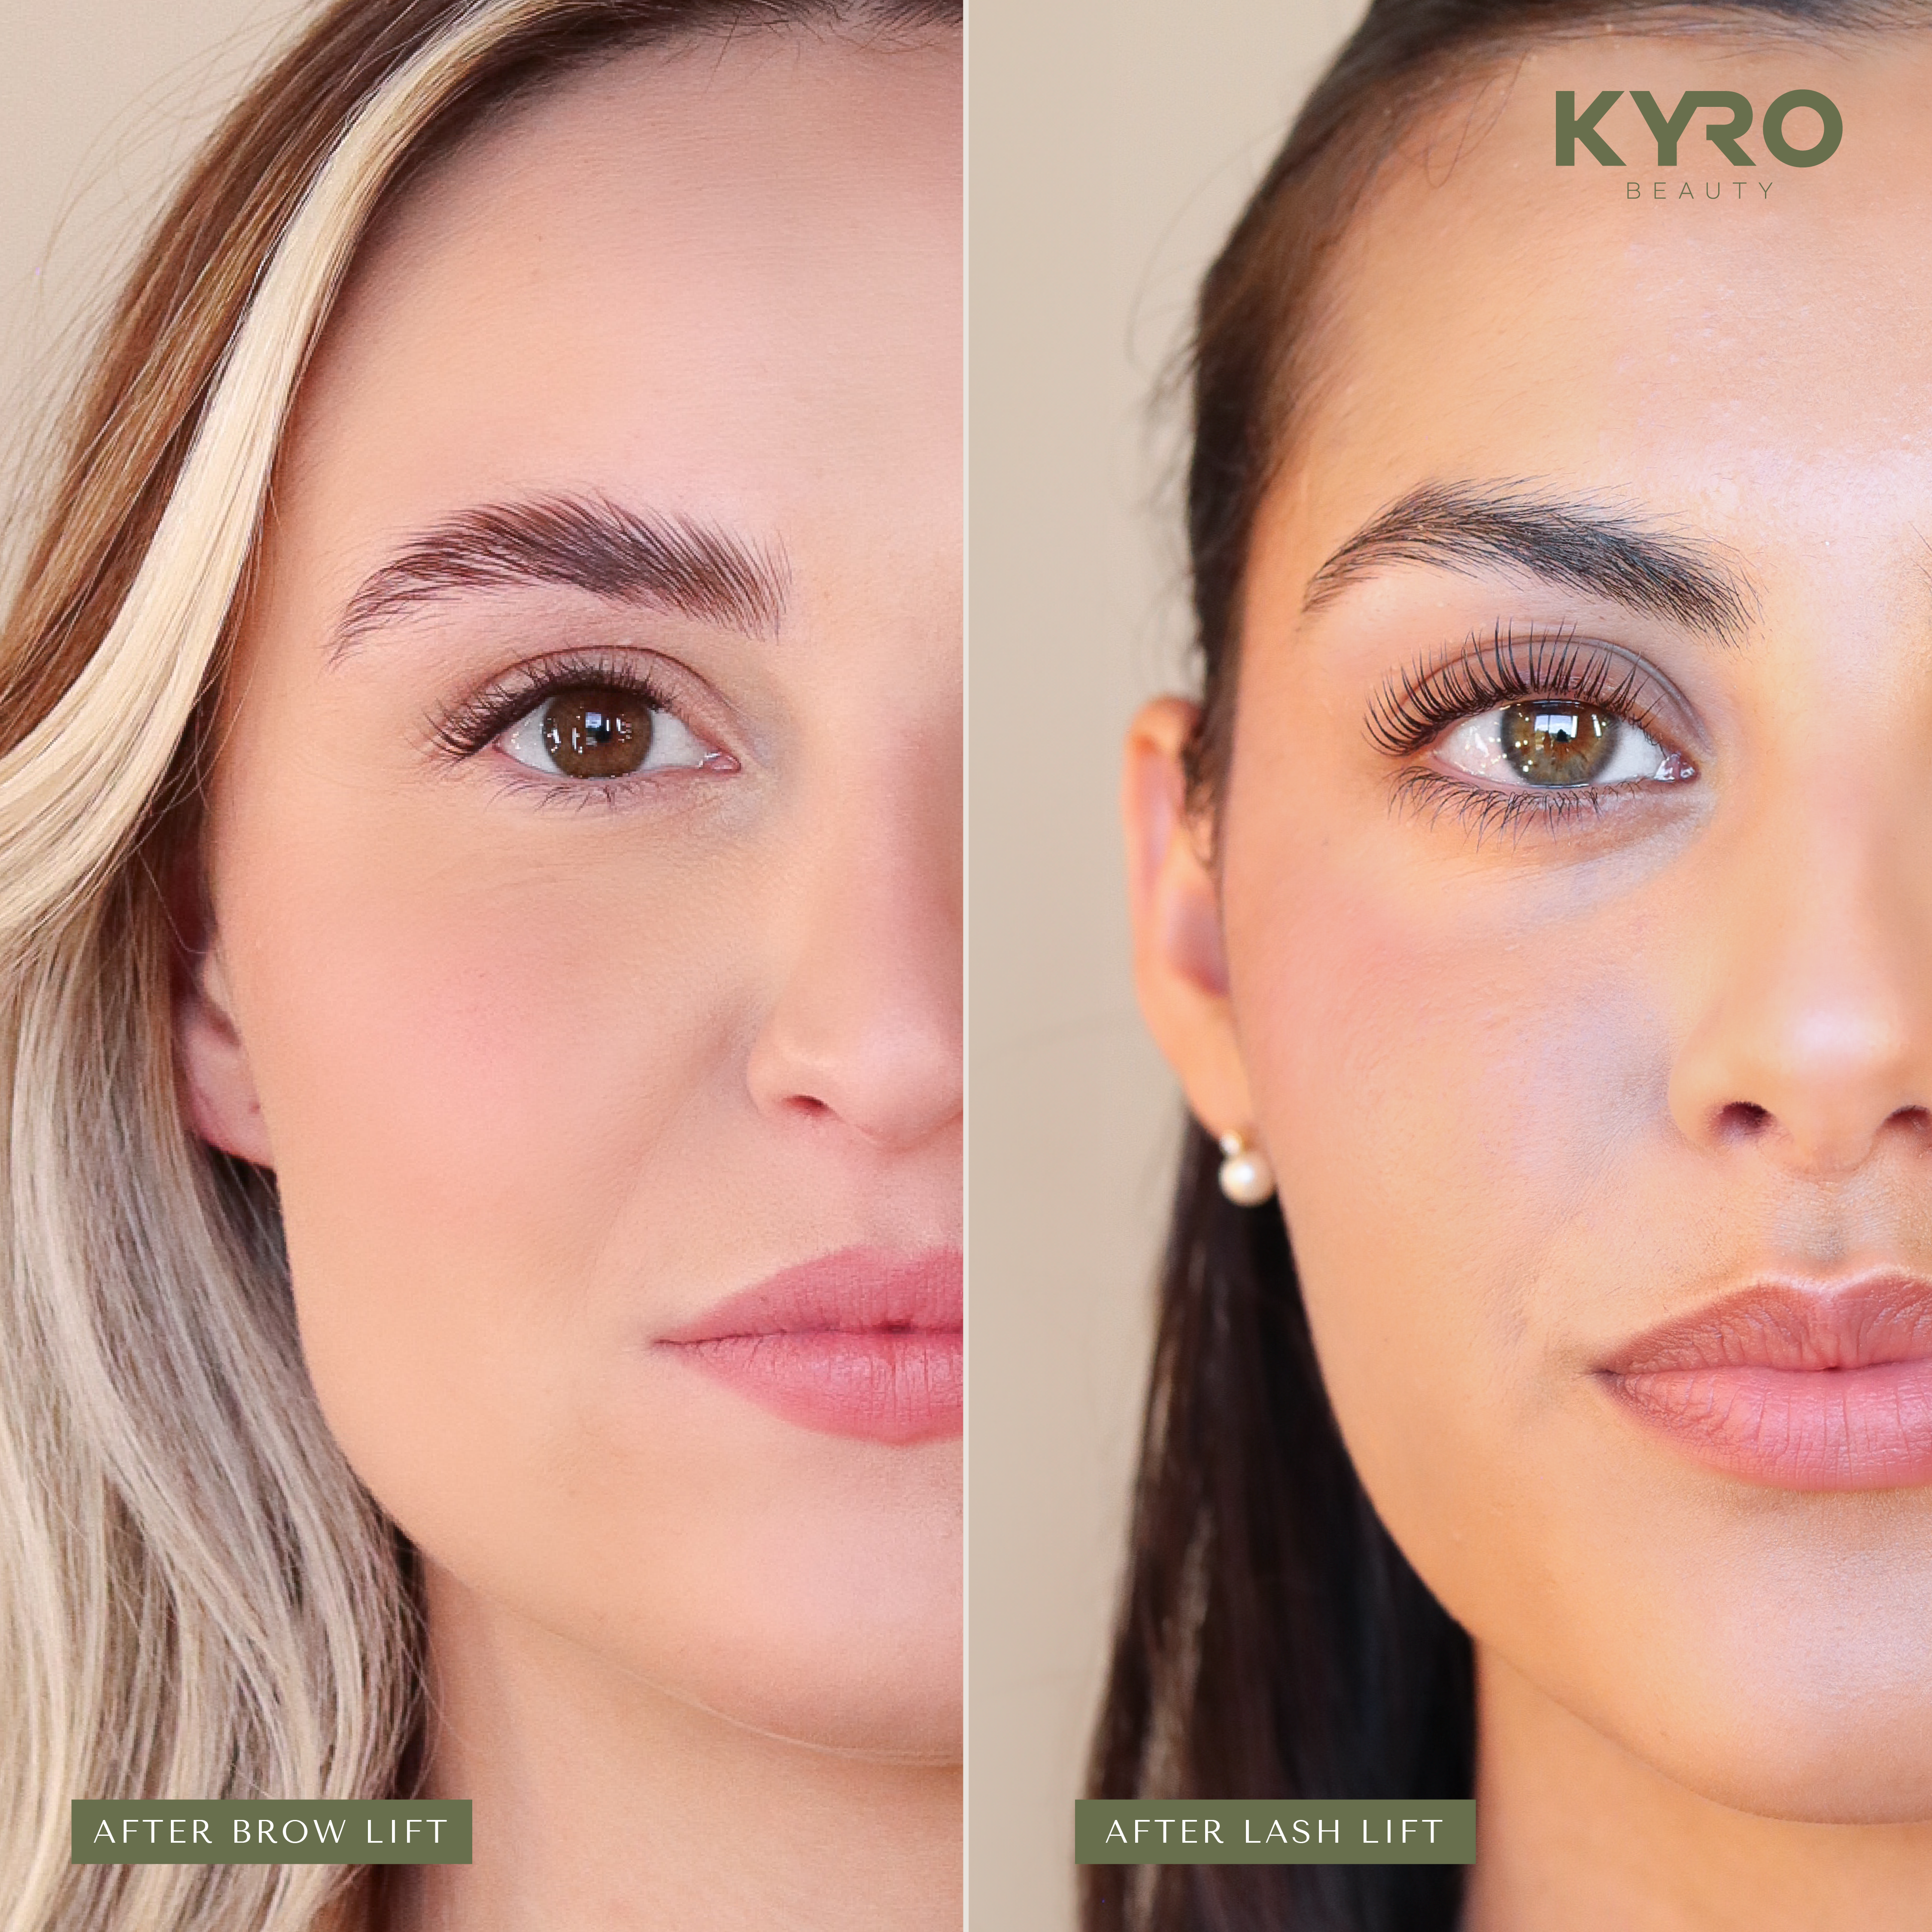
Brow Lift Results
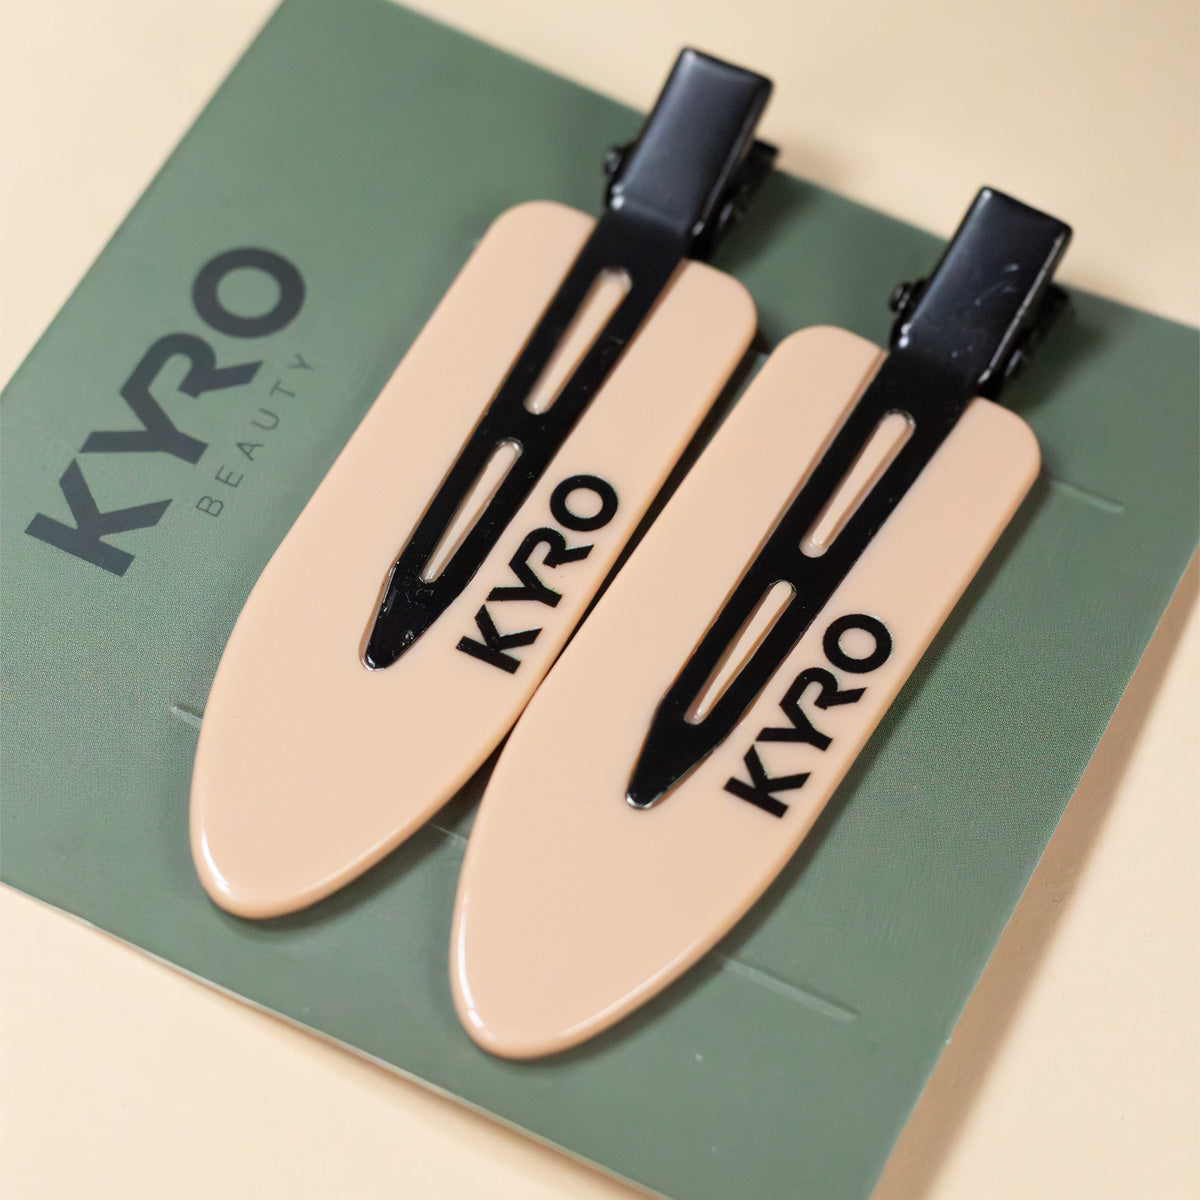
kyro brow lift tools
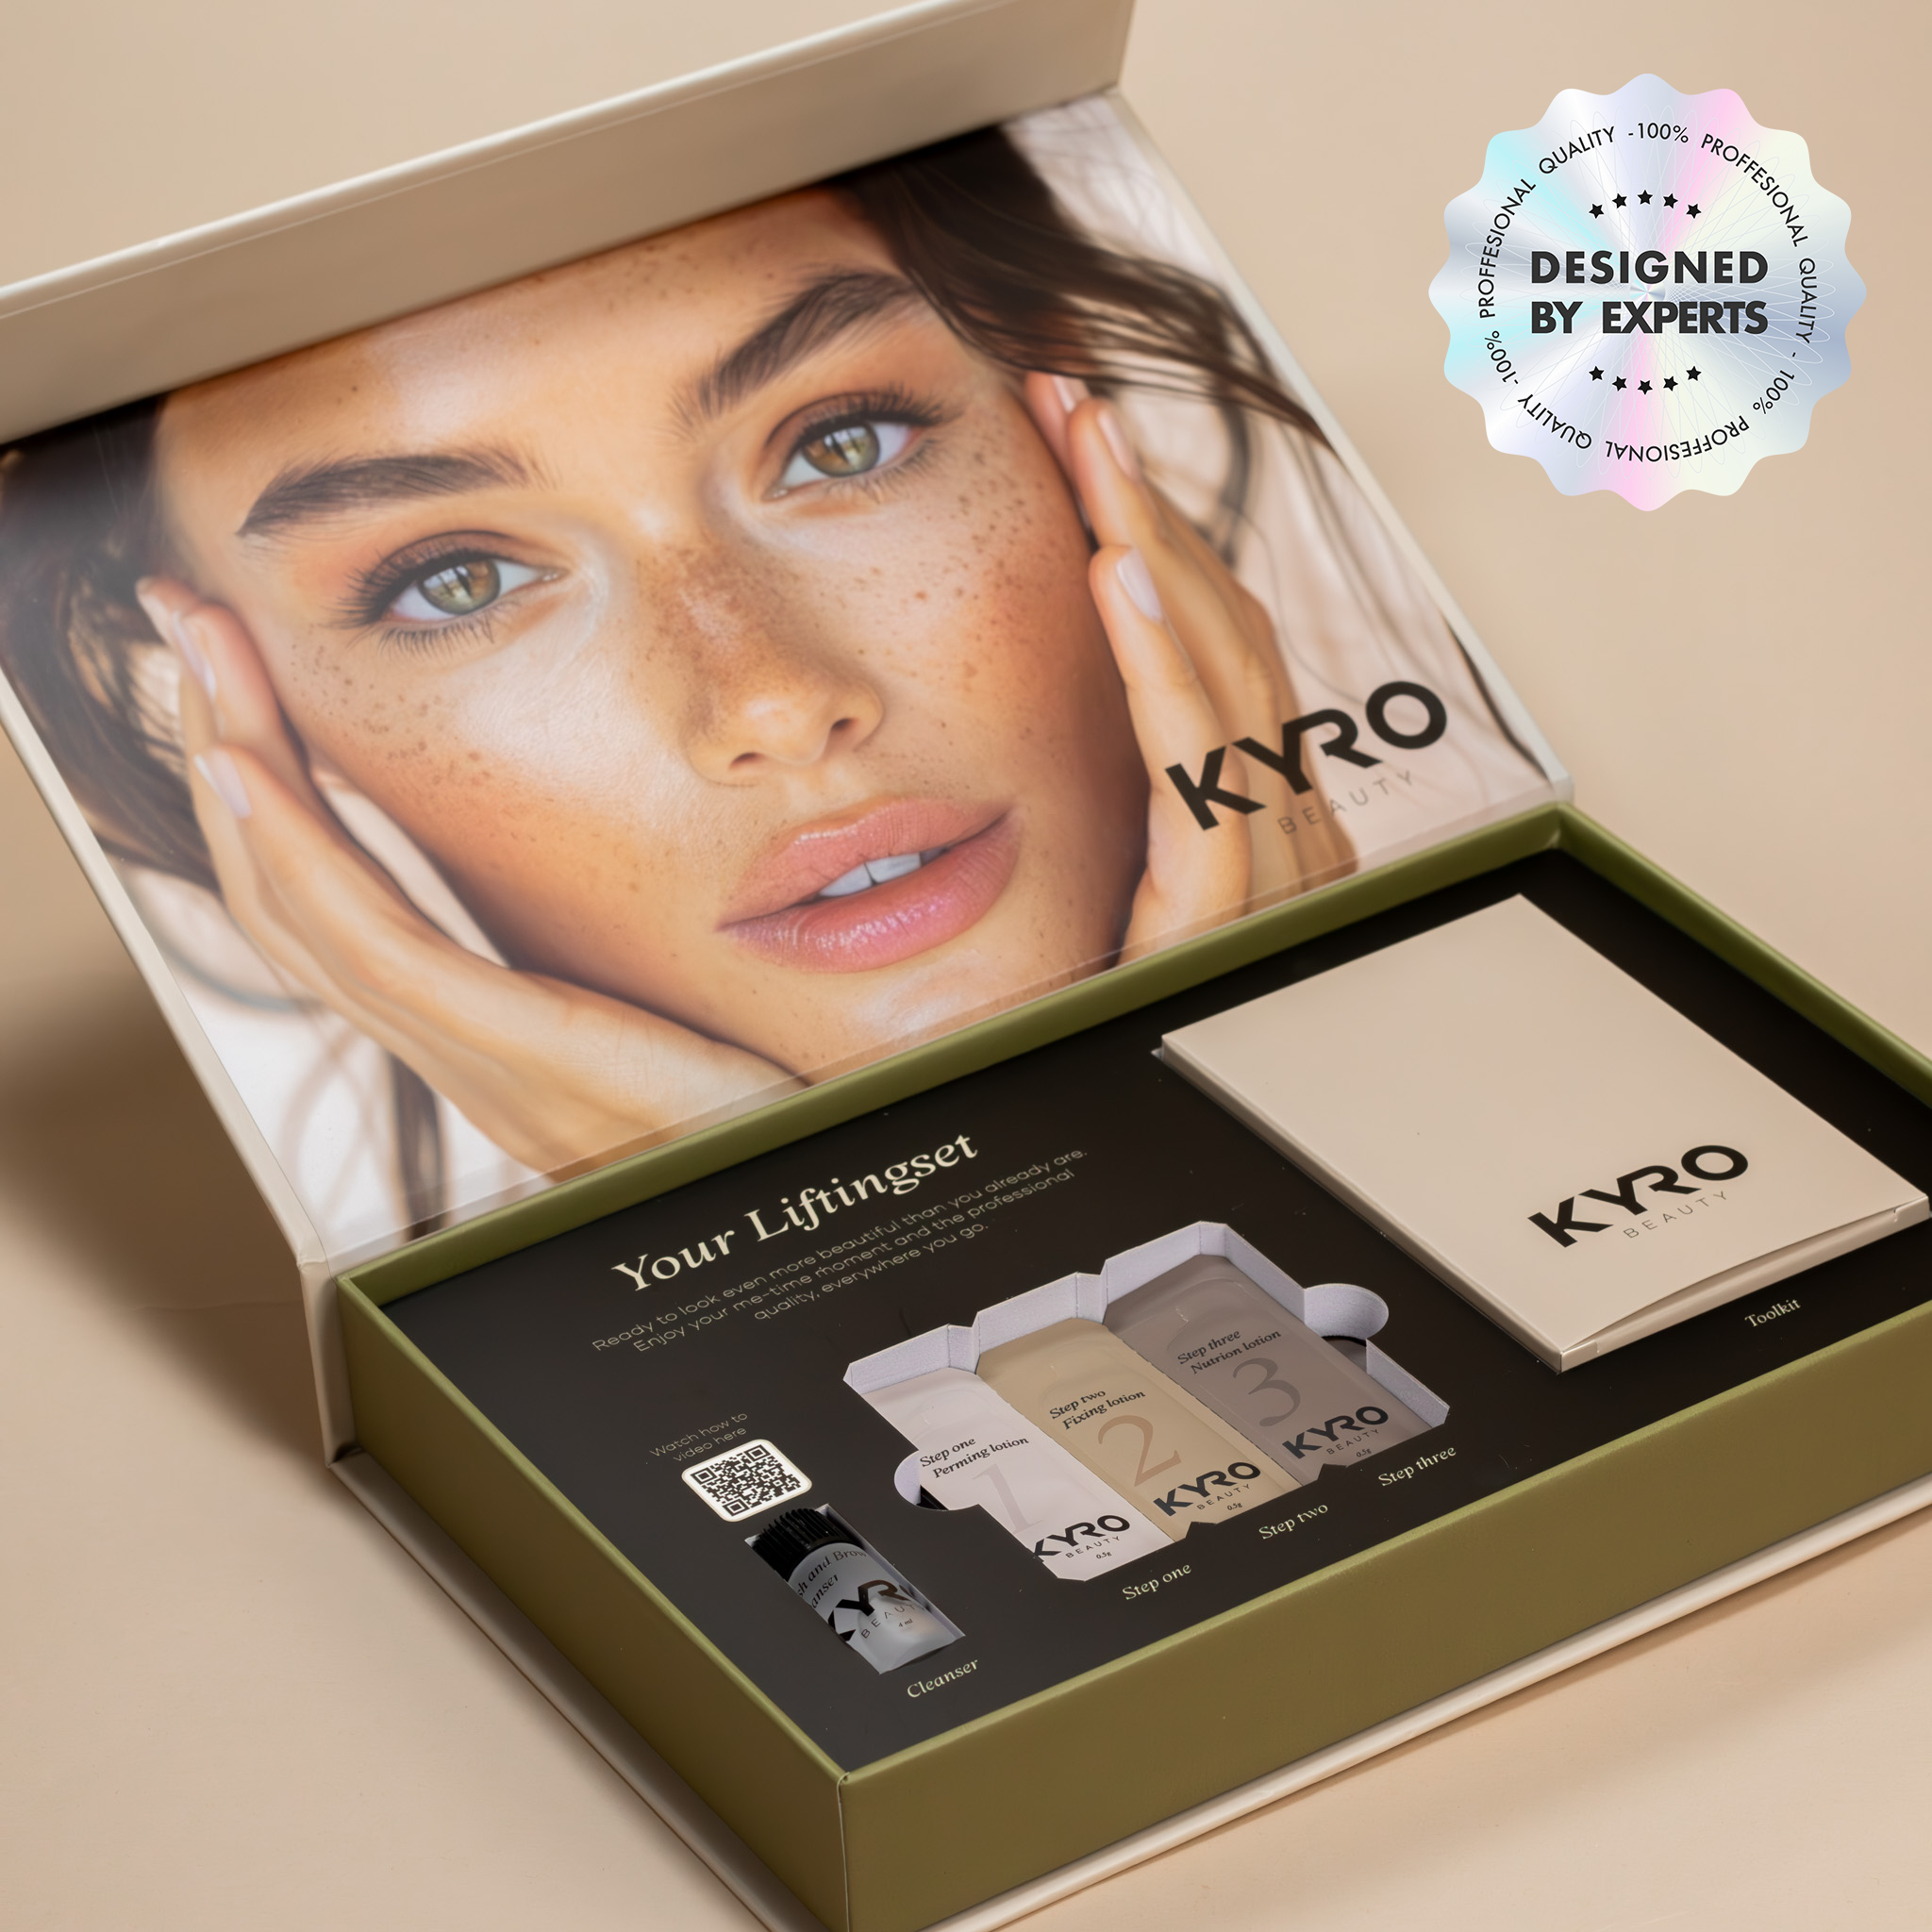
Lash and Brow kit - webshop
DIY Lash Lifting Kit - KYRO Beauty
Brow Lift Results
kyro brow lift tools
Lash and Brow kit - webshop
DIY Lash Lifting Kit - KYRO Beauty
Brow Lift Results
kyro brow lift tools
Lash and Brow kit - webshop

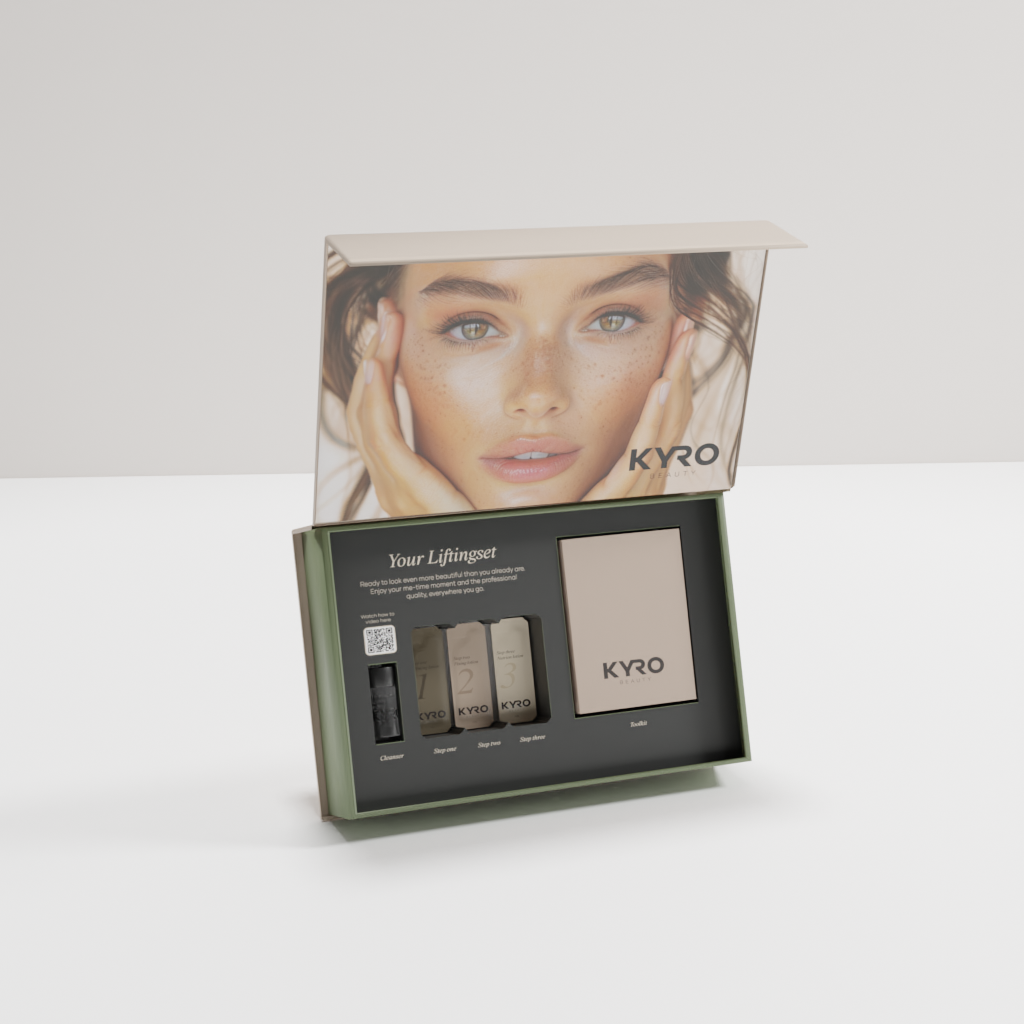
DIY Lash & Brow Lifting Kit

€59,95
€74,95

Achieve Perfect Lashes and Brows at Home with Our DIY Lash & Brow Kit!
Get salon-quality lash and brow results that last up to 8 weeks with just one easy-to-use kit – wherever you are. Whether you're looking for full, lifted lashes or perfectly laminated brows, this kit does it all.

  • If you can apply mascara or brow gel, you’re ready to lift your lashes and laminate your brows!
  • Includes a step-by-step guide and video tutorial, perfect for beginners.
  • Simple and safe 3-step process for both lashes and brows.
  • Gentle, smooth formula that delivers results without causing damage.

What we leave out:
No parabens, silicones, glutes, phthalates, GMOs, and 100% cruelty-free.
What we put in:
Brow and lash-strengthening ingredients like keratin, collagen, and Vitamin E to nourish and protect.

Transform your lashes and brows with ease – enjoy fuller, lifted lashes and laminated brows that last for weeks!

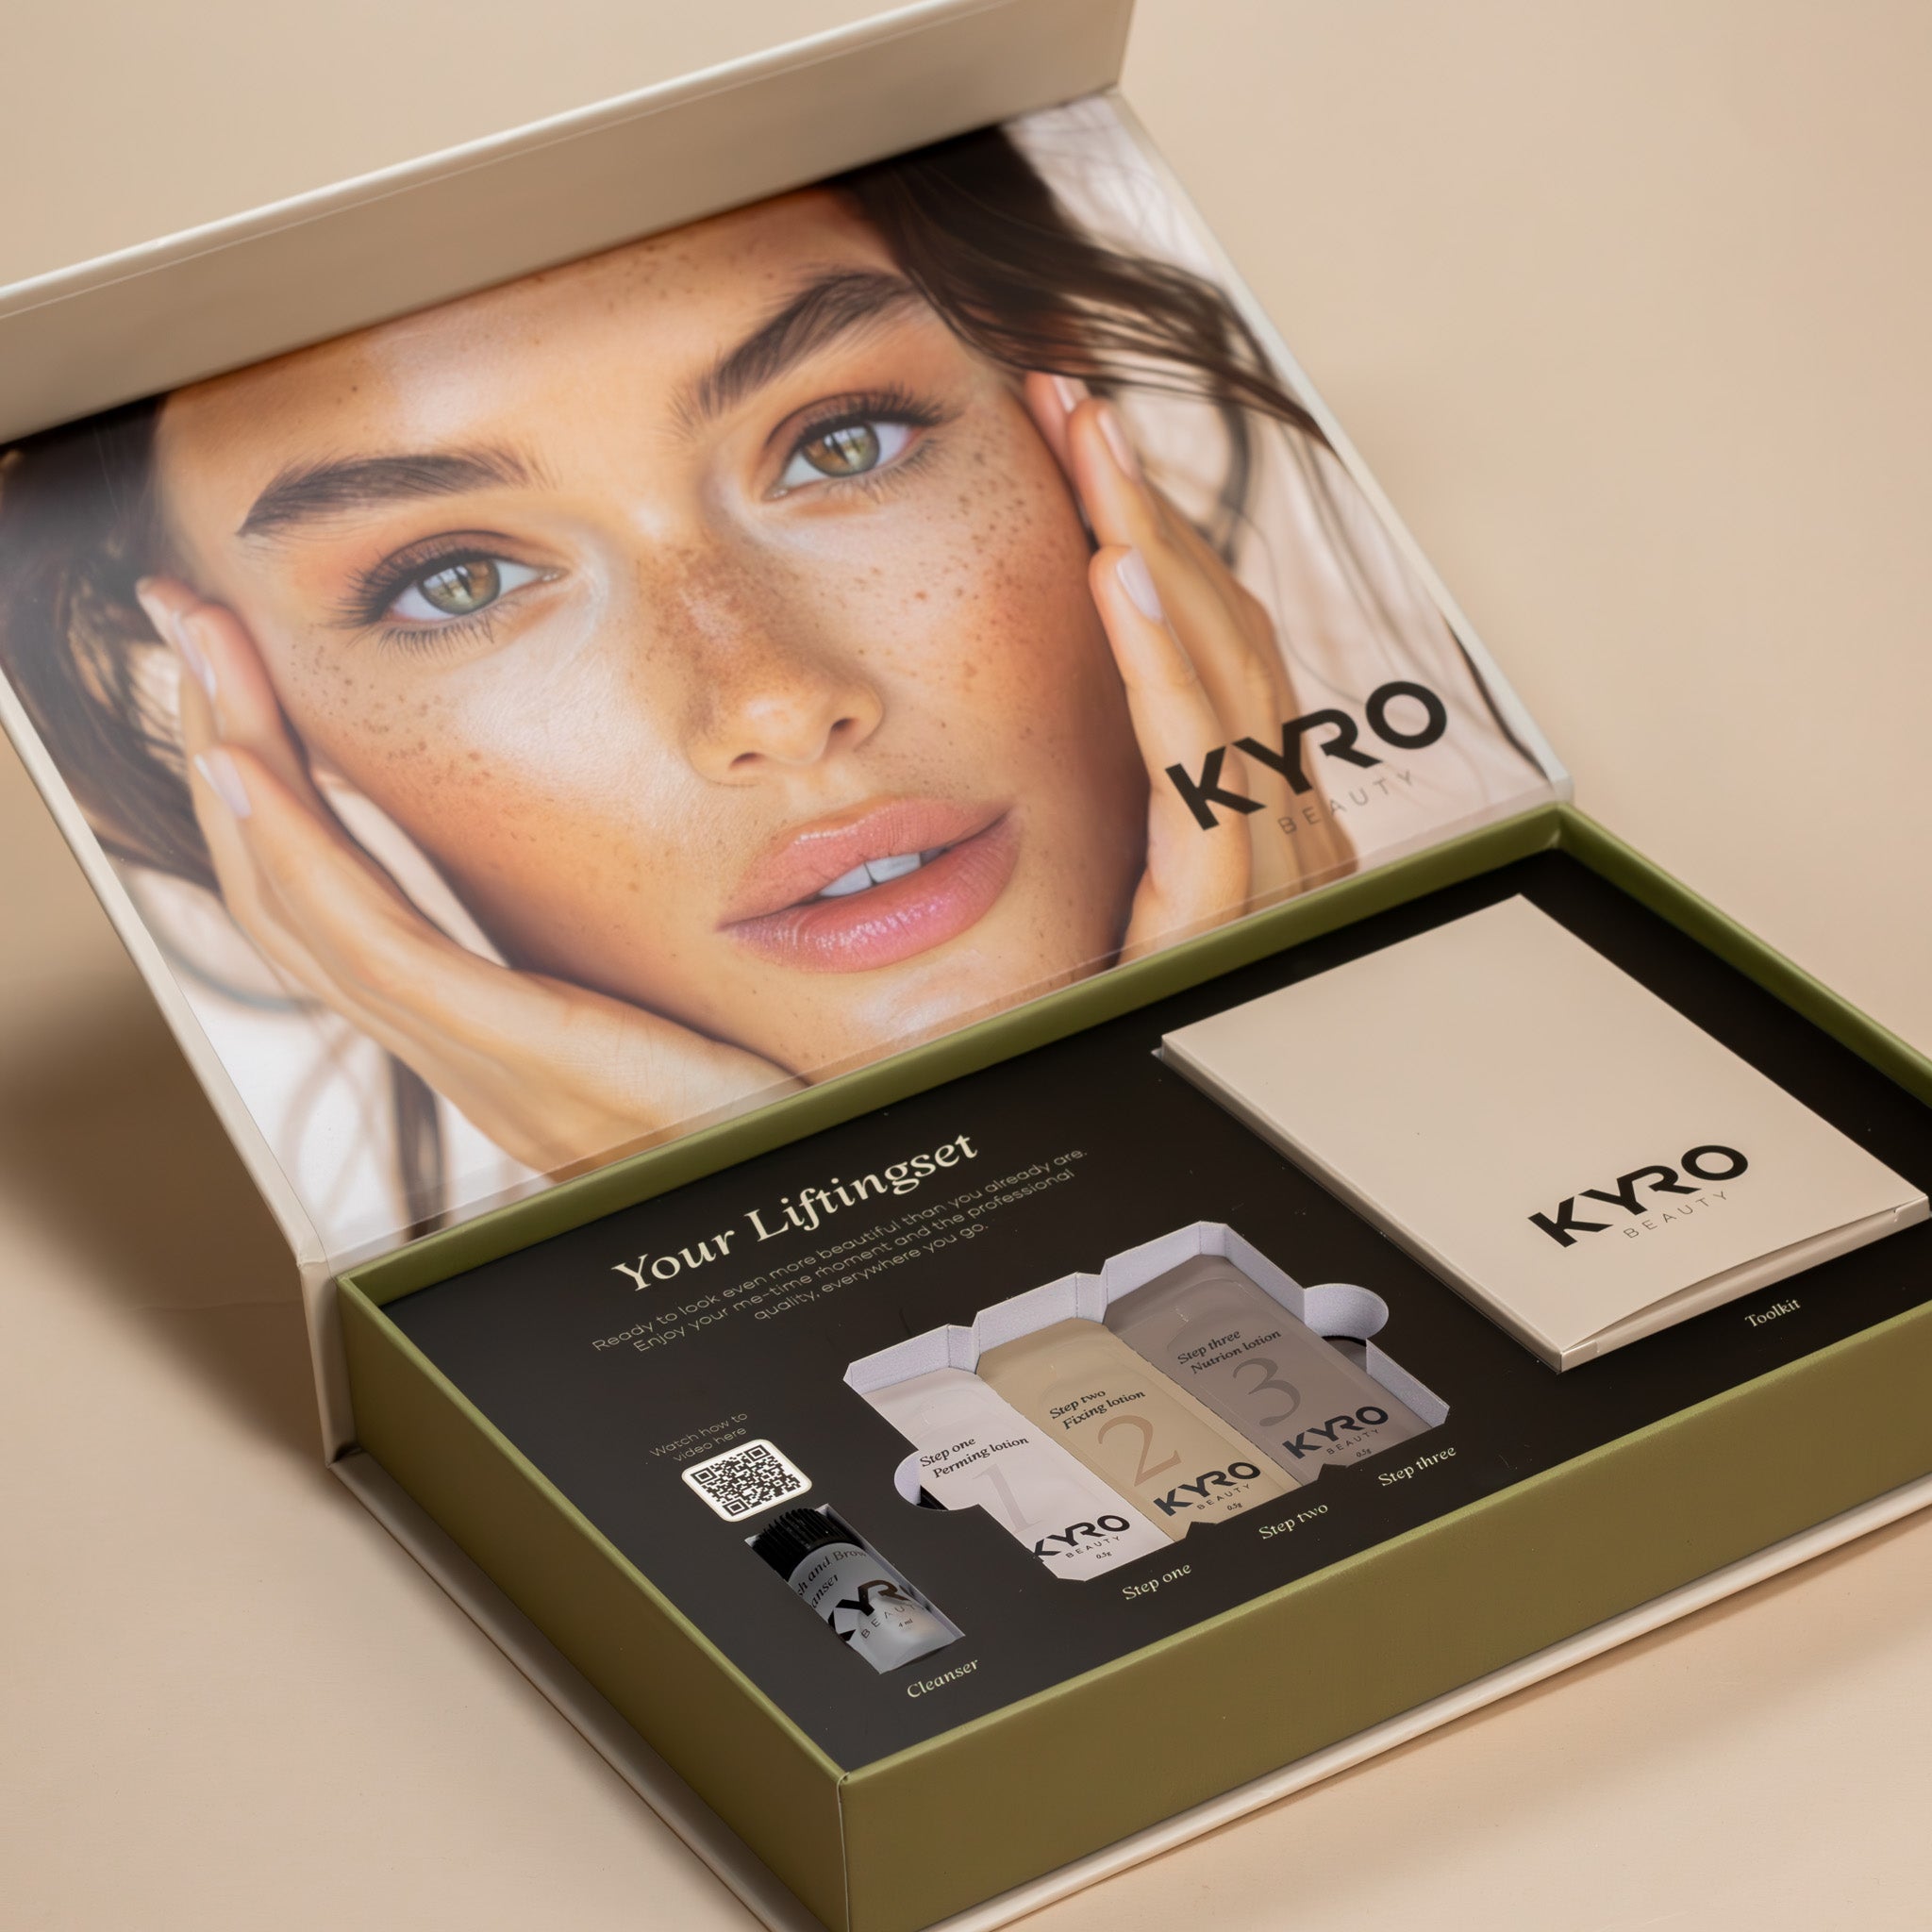
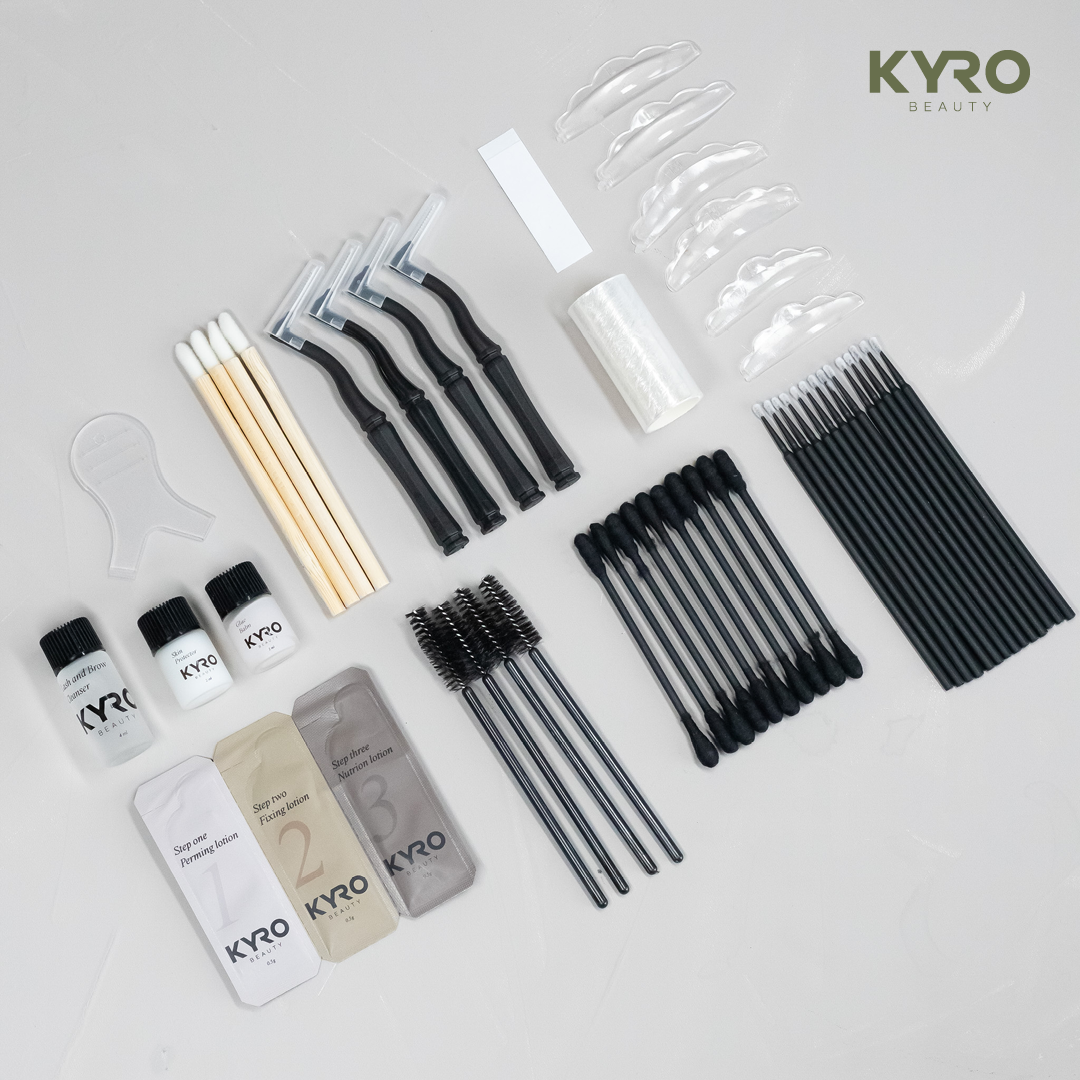
Products:

  • 1x Lash and Brow Cleanser
  • 4x Step one Perming Lotion
  • 4x Step two Fixing Lotion
  • 4x Step three Nutrition Lotion

Toolkit:

  • 1x Silicon Pad S (pair)
  • 1x Silicon Pad M (pair)
  • 1x Silicon Pad L (pair)
  • 1x Skin Protection
  • 1x Glue Balm
  • 1x Plastic Film
  • 1x Y-brush
  • 4x Bamboo Brush
  • 4x Brow Brush
  • 4x Mascara Brush
  • 10x Cotton Swab
  • 10x Tape
  • 14x Microbrushes
feature-item-1
Expert Stylist Support
Professional guidance from our team of stylists
feature-item-2
Same day Worldwide Shipping
Free Shipping > 40,=
feature-item-3
Secure Pay
feature-item-4
Buy now, pay later

STEP BY STEP - LASH LIFT

1

Cleanse the eyes with the cleanser and a cotton pad.

2

Place the rescue tape on the eyelid and apply the silicone pad. Choose the correct size silicone pad;

S - short lashes

M - medium lashes

L - long lashes.

3

Stick the lashes onto the silicone pad with the glue balm and bamboo brush.

Comb the lashes straight with the comb tool make sure the lasges are well separated.

4

Apply step 1 Perming Lotion to 2/3 of the lashes with a microbrush and leave in for:

5 min. - thin lashes

6,5 min. - normal lashes

8 min. - thicker lashes

5

Remove the plastic wrap and Step 1 Perming Lotion with a dry cotton swab.

6

Apply Step 2 Fixing Lotion to the entire lashes with a Microbrush and leave on for the same soaking time as you did by Step 1 Perming Lotion.

Cover the lashes with plastic wrap during the soaking time.

7

Remove the plastic wrap and Step 2 Fixing Lotion with a dry cotton swab.

Clean the lashes deeply with a wet cotton swab.

Also remove the silicone pad and rescue tape.

8

Apply Step 3 Nutrion Lotion to the lashes and comb through with an eyelash brush.

Keep lashes dry for 24 hours for optimal results.

STEP BY STEP - BROW LIFT

1

Cleanse the brows with the cleanser and a cotton pad.

2

Apply the Skin Barrier with the Bamboo Brush, leave for 5 minutes.

Remove with a dry cotton pad.

3

Apply Step 1 Perming Lotion to the brows with a Bamboo Brush and leave in for:

5 min. - thin hairs

6,5 min. - normal hairs

8 min. - thick hairs

4

Comb the eyebrow hairs into the desired shape with an eyebrow brush.

Apply another layer of Step 1 and cover the brows with plastic wrap.

5

Remove the plastic wrap and Step 1 Perming Lotion with a dry cotton pad.

6

Apply Step 2 Fixing Lotion the same way as Step 1 Perming Lotion. Repeat those steps.

7

Remove the plastic wrap and Step 2 Fixing Lotion with a wet cotton swab.

8

Apply Step 3 Nutrion Lotion to the brows and comb through with an brush.

Keep the brows dry for 24 hours for optimal results.

Grazia
Grazia
Grazia
Grazia
Grazia
Grazia
Grazia
Grazia
Grazia
Grazia

KYRO Beauty vs Other Brands

DIY Lifting

Designed and supported by experts

No professional expertise and support

Complete kit with Cleanser and tools

No Cleanser and tools included

Hygienic single-use sachets with plant-based lotion

Less effective bottles and chemically-based lotions

Nourishing, mess free Glue Balm for lashes

Messy and harsh glue on skin, brows and lashes

Aftercare with Keratin

No aftercare

Gentle on skin with Skin Barrier Protection

No skin protection

Reusable pads with no glue on skin

Pads with harsh glue

Other

HYGENIC SINGLE-USE SACHETS

Each kit comes with single-use sachets, ensuring the product stays fresh and effective every time – unlike bottles that lose potency after opening.

SHOP KIT
KYRO Sachet

DESIGNED BY EXPERTS

Crafted by professionals with over 15 years of experience for salon-quality results.

SHOP KIT
KYRO to do

PLANT-BASED LOTIONS

Made with soft, natural ingredients – no strong chemicals, only plant-based formulas.

SHOP KIT
KYRO Kit

EXPERT STYLIST SUPPORT

Get professional guidance from our team of stylists via customer service, whenever you need it.

SHOP KIT
KYRO Logo

Frequently Asked Questions

Cleanser: Aqua, Glycerin, Methylpropanediol, Propylene Glycol, Betaine, Allantoin, Sodium Hyaluronate, Puremediline, DM-926.

Skin Protection: Water, Coco-Caprylate/Caprate, 1.2-Propanediol, Amino Acid, Lanolin, Allantoin, Glycerol, Sodium Acrylate / Acryloyldimethyl Taurate Copolymer 2, Hyaluronic Acid, Essence.

Glue Balm: Aqua, Propylene Glycol, Glycerin, Sorbitol, Methyl Ester Sulfonate, EDTA-2NA, Myristic Acid, Stearic Acid, Vitamin E, Coconut Oil, Olive Oil, Jojoba Oil, Hamamelis Virginiana Extract, Rutile, Aloe, Sucrose, PVP.

Step one Perming: Aqua, Thioglycolic acid, Ethanolamine, Cetearyl Alcohol, Urea, Polyquaternium-28, Glyceryl Stearate, Steartrimonium chloride, C 12-15 Pareth-10, Vegetable Glycerin, Parfum, Disodium Edta.

Step two Fixing: Aqua, Sodium Bromate, Cetearyl Alcohol, Steartrimonium Chloride, Disodium Phosphate, Dipotassium Glycyrrhizate.

Step three Nutrition: Propylene Glycol, Phenoxythanol, Collagen, Polysorbate 20, Perfume, Aqua.

Warning: For all products avoid contact with eyes. In case of contact with eyes, rinse immediately with plenty of water and seek medical advice.

Add yourself: Cotton pads.

TIP: Review the manual and arrange your products in the order they will
be used ahead of time. Perform the treatment step by step on each eye
separately, ideal for beginners or first-time users.

Pay attention: One sachet can be used for both eyes
per treatment.

Manual:

  1. Cleanse the eyes with the Cleanser and cotton pads.
  2. Measure the right size Silicone Pads, to create the
    perfect fit. Available sizes: Size S; short lashes / Size M; middle length lashes / Size L; long lashes.
  3. Place the Rescue Tape onto the eyelid, then attach the Silicone Pad onto the eyelid with a Brow brush
    and Glue Balm.
  4. Attach the eyelashes onto the Silicone Pads, using the Glue Balm and Bamboo Brush. Comb all eyelashes straight up and decently with the Y tool, so that they are
    perfect in place and separated.
  5. Apply Step One Perming Lotion with a Microbrush on to 2/3 of the eyelashes from the base. Soaking
    time: 5 minutes for thin eyelashes / 6,5 minutes for regular eyelashes / 8 minutes for thicker eyelashes.
  6. Place a piece of Plastic Film on the lashes during the soaking time.
  7. Peel off the Plastic Film and remove Step One Perming Lotion with a dry Cotton Swab. Make sure you remove everything.
  8. Apply Step Two Fixing Lotion with the Microbrush on to the full eyelashes from the base. Soaking
    time is the same as you chose with Step One Perming Lotion.
  9. Place a piece of Plastic Film on the lashes during the soaking time.
  10. Peel off the Plastic Film and remove Step Two Fixing Lotion with a dry Cotton Swab. Make sure you remove everything.
  11. Cleanse the eyelashes thoroughly with a Cotton Swab damped in water. Make sure you remove
    everything.
  12. Remove the Silicone Pads and the Rescue Tape of the eyelid. Cleanse the eyelid with a Cotton Swab damped in water.
  13. Apply Step Three Nutrition Lotion on to the full eyelashes with a Microbrush, comb through with
    the Mascara brush. Let Step Three soak in for 24 hours, keep your eyes and lashes dry in those 24 hours and don’t brush the lashes.

Add yourself: Cotton pads.

TIP: Review the manual and arrange your products in the order they will be used ahead of time. Perform
the treatment step by step on each eyebrow separately, ideal for beginners or first-time users.

Pay attention: One sachet can be used for both eyebrows per treatment.

Manual:

  1. Cleanse the eyebrows with Cleanser and a cotton pad.
  2. Apply the Skin Protection on to the eyebrow hairs with a Bamboo Brush and let it soak in for 5 minutes, remove with a dry cotton pad.
  3. Apply Step one Perming Lotion with the Bamboo Brush onto the eyebrows.
  4. Comb the eyebrow hairs in the desired position with the Brow Brush.
  5. Apply an extra layer of Step one Perming Lotion with the Bamboo Brush. Depending on the hair type you choose the soaking time: 5 minutes for thin eyebrow hairs / 6,5 minutes for regular eyebrow hairs / 8 minutes for
    thicker eyebrow hairs.
  6. 6. Place a piece of Plastic Film on the eyebrows during the soaking time.
  7. Remove Step one Perming Lotion with a dry cotton swab, wipe off in the desired position. Make sure you remove everything.
  8. Apply Step two Fixing Lotion with the Bamboo Brush onto the eyebrows.
  9. Comb the eyebrow hairs again in the desired position with the Brow Brush.
  10. Apply an extra layer of Step two Fixing Lotion with the Bamboo Brush. The soaking time is the same as Step One Perming Lotion.
  11. Place a piece of Plastic Film on the eyebrows during the soaking time.
  12. Remove Step two Fixing Lotion with a dry cotton swab, wipe off in the desired position. Make sure you remove everything.
  13. Cleanse the eyebrows thoroughly with a cotton pad drenched in water. Make sure you remove
    everything.
  14. Apply Step three Nutrition Lotion on to the full eyebrows with a Microbrush, comb through with
    the Mascara brush. Let Step Three soak in for 24 hours, keep your brows dry in those 24 hours and don’t brush them. 

Why is performing a patch test important?

A patch test, or also called allergy test, is a method to check whether a beauty product or ingredient provokes an allergy on your skin. For the treatment you use different types of lotions. Although KYRO's products are formulated to be as natural as possible, in rare instances, a contact allergy may still occur. Such as highly irritated skin and sometimes even blisters. By performing a patch test, you can rule this out. So, it is very important to do a patch test, and don't skip this step!

How to perform the patch test

You perform the patch test at least 72 hours prior to your Brow Lift treatment. Why? It can take up to 48 hours for an (allergic) reaction to develop.

  1. Open the sachet of the Perming Lotion and apply a small amount of lotion to your wrist or inner elbow using a microbrush.
  2. After 8 minutes, remove the Perming Lotion from the skin with a clean cotton swab.
  3. Repeat step 2 and step 3 for the Fixing Lotion on the same spot.
  4. Open the sachet of the Keratin Lotion and apply to the same area.
  5. Leave the Nutrition Lotion on for up to 24 hours, in the meantime do not get the skin wet.
  6. Does no reaction occur within 48 hours of the patch test? For example, redness, itching or a burning sensation. Then you can proceed with the Brow Lift treatment.

No guarantee for the future

However, a patch test is no guarantee against allergies in the future. You may still become allergic to a certain substance. For example, if you perform the Brow Lift and Lash Lift treatment too often. For this reason, we recommend not doing it more often than every six weeks.

When should you not perform a Brow Lift and/or Lash Lift treatment? 

Pregnancy or breastfeeding

It is not recommended to apply a Brow Lift and/or Lash Lift treatment during pregnancy or breastfeeding. It certainly cannot harm the unborn child. Because of the hormones, there is an increased risk of an allergic reaction or the result not
turning out as desired. If one gets an allergic reaction, medication such as hormone ointments or antibiotics may be required. Unfortunately, this is not a nice combination with pregnancy or breastfeeding.

Restless skin

Do you have irritated skin, wounds or acne around the eyebrows? Then we do not recommend the Brow Lift and/or Lash Lift treatment. Unfortunately, your skin will be more susceptible to an allergic reaction. 

Just before a sun holiday

After a Brow Lift treatment, you should avoid the sun, and tanning beds, for 48 hours. Sun on Brow Lift can trigger an allergy. The advice is to avoid going into direct sunlight when you have just had your Brow Lift treatment. During these 48 hours, you should protect your brows by staying in the shade.
And after the 48 hours, you can oil your eyebrows with spf to protect them, this may cause them to fade faster though.

What if you have an allergic reaction?

Don't panic. Do you have a doubt? Consult your GP, probably hormone ointment or cream will be prescribed. Hope you get rid of
the symptoms soon, unfortunately you will not be able to undergo Brow Lift and/or Lash Lift treatment again.

View here all the frequently asked question for the Lash Lift treatment.

View here all the frequently asked question for the Brow Lift treatment.