



Polygel vs Dip Powder Durability Comparison Guide 2026

Table of Contents
- Polygel vs Dip Powder: Quick Durability Comparison
- What Is Polygel and How Does It Hold Up?
- What Is Dip Powder and How Long Does It Last?
- Polygel Nail Longevity: How Many Weeks Can You Expect?
- Polygel vs Dip Powder Application Difficulty: Which Is Easier at Home?
- Best Practices for Nail Prep Before Either System
- Cost per Manicure, Nail Health, and Troubleshooting Common Failures
- Conclusion: Which System Wins on Durability?
- Frequently Asked Questions
Last Updated: October 2, 2026
Polygel vs Dip Powder: Quick Durability Comparison
In this polygel vs dip powder durability comparison, the short answer: dip powder delivers a hard, rigid shell that typically holds for 3 to 4 weeks, while polygel trades a little wear time for flexibility that survives impact better. Most people shopping this category are not choosing between good and bad, they are choosing between two different kinds of tough.
This guide breaks down how each system behaves on real hands, what it costs you over a year, and which one suits your nails.
The core difference is structure. Polygel is a hybrid of acrylic and gel, a thick, moldable paste that stays flexible once cured under a UV or LED lamp. Dip powder skips the lamp: you coat the natural nail in a bonding agent, dip it into a pigmented powder, and seal it with an activator.
At-a-Glance Comparison Table
| Factor | Polygel | Dip Powder |
|---|---|---|
| Typical wear | 2 to 3 weeks | 3 to 4 weeks |
| Curing method | UV/LED lamp | No lamp needed |
| Flexibility | High, bends on impact | Rigid, can crack |
| Application time | Longer, needs sculpting | Faster, no curing |
| Removal | Soak-off with acetone | Soak-off, can be tough |
| Best for | Active hands, weak nails | Maximum hardness |
The Verdict in Brief
Dip powder takes the durability crown on paper, with a typical 3 to 4 week lifespan and a chip-resistant finish.
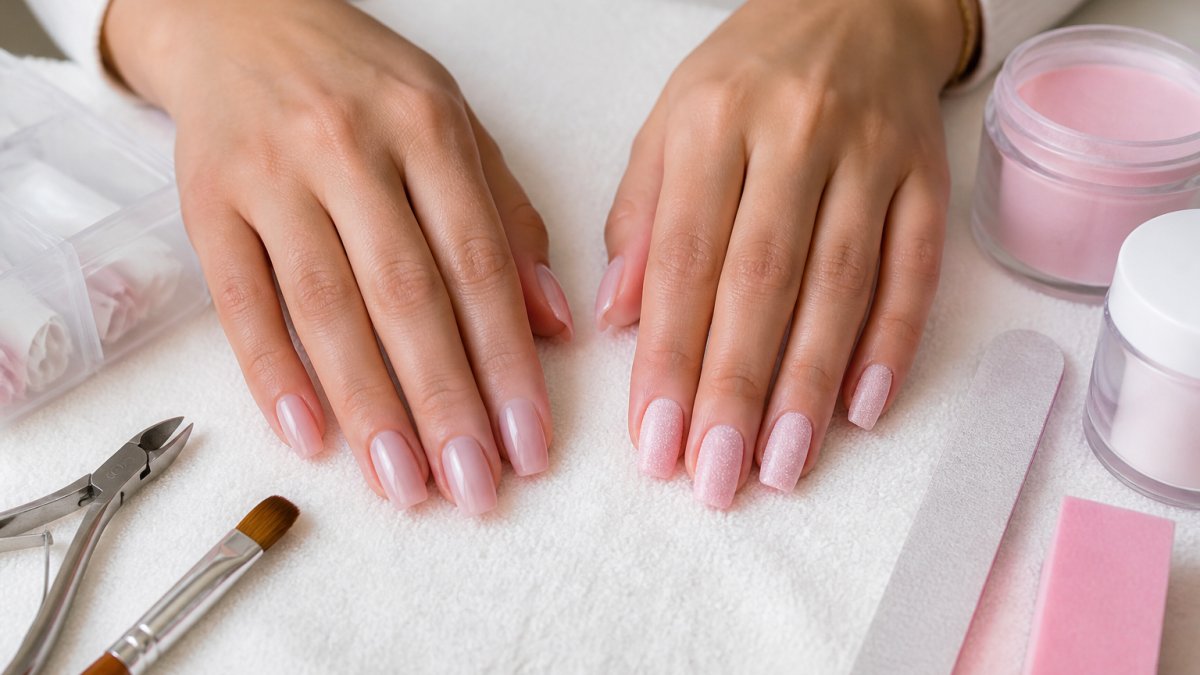
What Is Polygel and How Does It Hold Up?
Polygel blends the strength of acrylic with the flexibility of gel, applied as a thick paste and cured under a UV or LED light. It holds up on active hands because it bends slightly under pressure instead of snapping, which is why many technicians reach for it when a client keeps breaking nails.
The trade-off is application. Polygel needs a curing lamp and more sculpting time, so a rushed job shows. Once set, though, it resists the lifting that plagues rigid systems at the cuticle line.
Pros and Cons of Polygel
- Flexible, so it survives impact better than hard-shell systems
- Gives you unlimited working time to shape and fix mistakes before curing
- Adds structural support to weak or damaged nails
- Requires a UV/LED lamp, which is an extra cost
- Takes longer to apply and has a steeper learning curve
- Can look "fake" if over-sculpted
What Is Dip Powder and How Long Does It Last?
Dip powder is a manicure system that hardens without a lamp: you dip each coated nail into colored powder, then lock it with an activator. It lasts 3 to 4 weeks with proper application, according to Nail Company's 2026 manicure longevity comparison, and many users report a solid 3 weeks.
That wear time comes from the powder's rigidity: it forms a hard, protective shell over the nail plate, which suits thin or weak natural nails. The catch: hard also means brittle, and a sharp knock can crack the shell at the tip.
Pros and Cons of Dip Powder
- Exceptionally hard, chip-resistant finish
- No curing lamp, so application is faster
- Adds real strength to thin natural nails
- Can be brittle at impact points
- Removal is tough and risky if rushed
- Some practitioners question dip hygiene standards during the shared-dip process
Polygel Nail Longevity: How Many Weeks Can You Expect?
Polygel nail longevity runs 2 to 3 weeks for most people, slightly shorter than dip powder's 3 to 4 weeks. The gap narrows if you prep properly and avoid using your nails as tools.
What you lose in weeks, you gain in resilience: a flexible overlay fails gradually, lifting at an edge rather than cracking in half. For anyone who has watched a dip manicure shatter, that softer failure mode is worth the shorter window.
Polygel vs Dip Powder Application Difficulty: Which Is Easier at Home?
Dip powder is easier to apply at home: no curing lamp, no sculpting. Polygel demands more skill, since you shape a wet bead before curing it and uneven pressure leaves ridges.
That said, "easier" is not "foolproof." Dip's shared-dip step raises hygiene questions, since powder can pick up contaminants if you double-dip. Polygel avoids that because each bead is applied fresh from a tube.
Here is how the two compare on the practical steps:
| Step | Polygel | Dip Powder |
|---|---|---|
| Prep and buff | Required | Required |
| Base layer | Slip solution + sculpt | Bonding agent |
| Hardening | UV/LED lamp | Activator |
| Shaping window | Unlimited until cured | Limited, sets fast |
| Skill needed | Moderate to high | Low to moderate |
Best Practices for Nail Prep Before Either System
Prep decides durability more than the product does. A clean, dehydrated nail plate gives any overlay a surface to grip, while oil and cuticle left behind cause lifting within days. The best practices for nail prep are the same for both systems.
Push back cuticles and lightly buff the nail plate to remove shine. Wipe each nail with a dehydrator or primer, then avoid touching the surface before you apply.
Removal and Aftercare: The Part That Decides Your Nail Health
Most guides treat removal as a footnote, but it is where long-term nail damage is decided, and the two systems fail your nails differently.
Both polygel and dip powder are removed by soaking in acetone, which penetrates the cured polymer and breaks the cross-links holding it together, turning a hard shell back into a soft, liftable film.
Dip powder cures into a rigid, densely cross-linked shell, so acetone works through a harder surface and the shell releases in flakes rather than one piece.
A patient soak-off looks like this:
- File the top layer down to break the seal, but stop before you reach the natural nail.
- Soak in pure acetone, either in a bowl or with foil wraps, for 10 to 15 minutes.
- Check every few minutes and gently push softened product away with an orange stick. Do not scrape hard.
- Re-soak rather than force anything that has not released. If it is still firm, the acetone has not finished.
- Buff lightly to smooth, then apply cuticle oil immediately.
Recovery Time After Removal
After a soak-off, the nail plate is temporarily dehydrated and more porous than usual. It is not permanently damaged, but it needs time to re-stabilise before the next set.
A reasonable recovery window is 1 to 2 weeks between enhancements, spent on cuticle oil, a strengthening base coat and no mechanical stress. Nails that have been peeled rather than soaked need longer, often 4 to 6 weeks, because peeling removes layers of the nail plate itself.
If you redo your nails every two weeks without a break, the nail plate never fully recovers. Alternating systems, or scheduling a bare week every few cycles, keeps nails healthy while still wearing enhancements most of the time.
Cost per Manicure, Nail Health, and Troubleshooting Common Failures
Most comparisons stop at 'DIY is cheaper.' That is true but useless, because the real variable is cost per wear, not cost per kit. A system that lasts four weeks but costs twice as much per application can still be cheaper over six months.
DIY Kit Costs
So the upfront gap is real but smaller than it looks once you account for the lamp being reusable.
Salon Maintenance Costs
Over six months, assuming a fill every 2.5 weeks for polygel and every 3.5 weeks for dip, that is roughly 10 polygel appointments versus 7 dip appointments. At the midpoint of those ranges, dip comes out meaningfully cheaper on salon maintenance, mostly because of the longer wear window rather than a lower per-appointment price.
Cost per Wear
The honest conclusion: DIY wins on cost per wear by a wide margin for both systems, and the gap between polygel and dip is small enough that skill and consistency matter more than sticker price. If you can apply either confidently and get the full wear window, you are already ahead.
Long-Term Nail Health Impact
Long-term nail health depends on removal, not the product. Both systems are safe when applied and removed correctly, and both cause damage when peeled off. Dip powder's rigid shell puts more stress on the nail plate during removal, so soak thoroughly and never force it. Ridges, white spots or a nail that bends more easily than it used to mean you need a recovery cycle before the next set.
Fixing Lifting, Cracking, and Chipping
Most failures trace back to prep or impact, and both are fixable. Lifting means moisture or oil was left on the nail plate before application. Cracking at the tip points to a hard, brittle finish meeting a sudden knock. Chipping along the edge comes from a thin or uneven seal at the free edge.
- Lifting: re-prep with dehydrator and reapply the base layer
- Cracking: file the tip smooth and add a strengthening layer
- Chipping: seal the free edge fully on the next application
- Persistent failures: switch to a more flexible system like polygel
Conclusion: Which System Wins on Durability?
Dip powder wins the durability comparison on paper, with 3 to 4 weeks of wear and a chip-resistant finish. Polygel wins on resilience, flexing instead of cracking when life gets rough. If you want the longest wear and do not mind a rigid shell, choose dip. If your hands are always busy and you would rather avoid a shattered nail, choose polygel.
Frequently Asked Questions
Is polygel better than dip powder for long-term wear?
Polygel generally holds up better on active hands because it flexes on impact rather than snapping. Dip powder provides a harder, more rigid shell that resists chipping but can crack at stress points. One 2026 comparison notes that builder gel, often grouped with polygel, wears slightly longer than dip powder in client applications. For maximum wear time with fewer repairs, polygel has the edge. For a hard, protective finish without UV curing, dip powder remains a strong option.
How many weeks can you expect polygel nails to last?
Polygel nail longevity typically falls between three and four weeks with proper application and aftercare. The flexible formula handles daily tasks like typing, cooking, and gym sessions without the brittleness that shortens dip powder wear. Some users push past four weeks, but regrowth at the cuticle usually makes a fill or fresh set necessary by week three. Following best practices for nail prep, including dehydrating the nail plate and avoiding excess oil, helps you reach the upper end of that range.
Does dip powder damage the natural nail more than polygel?
Dip powder removal carries a higher risk of nail plate damage because it often requires filing or soaking in acetone, which can strip natural oils and thin the nail bed if done aggressively. Polygel removal is also acetone-based but tends to dissolve more evenly, reducing the need for heavy filing. In both cases, damage comes from improper removal rather than the product itself. Using a soak-off method and moisturising after removal keeps natural nails in better condition.
What are the main disadvantages of polygel compared to dip powder?
Polygel requires a UV or LED curing lamp, so it is not a plug-and-play system if you want to avoid light exposure. It also has a learning curve: the thick viscosity means you need to sculpt and shape before curing, and mistakes show up if you rush. Dip powder needs no lamp and applies faster, but it is more brittle at impact points. If convenience and speed matter most, dip powder wins. If flexibility and a more forgiving shaping window matter, polygel is the better fit.
Is dip powder more durable than gel-based systems?
Dip powder typically outlasts standard gel polish. Research from Nail Company (2026) shows dip manicures last three to four weeks, while gel manicures last two to three weeks. Dip powder's polymer composition creates a thicker, harder layer that resists chipping. However, polygel and builder gel systems offer comparable or longer wear on active hands because they flex instead of cracking. The trade-off is application complexity: dip powder is faster, but polygel handles impact better over time.
Choosing between polygel and dip powder comes down to how you use your hands, and the same logic applies to every beauty routine you build at home. Kyro Beauty makes salon-quality lash and brow kits with no glue required, shower-proof formulas, and all-in-one kits for shaping and tinting, so you get lasting results without the salon trip. With over 2,000 five-star reviews, our kits are built for busy routines and sensitive eyes. Get started with Kyro Beauty and bring salon-quality results home.
